Marking and marking of thread
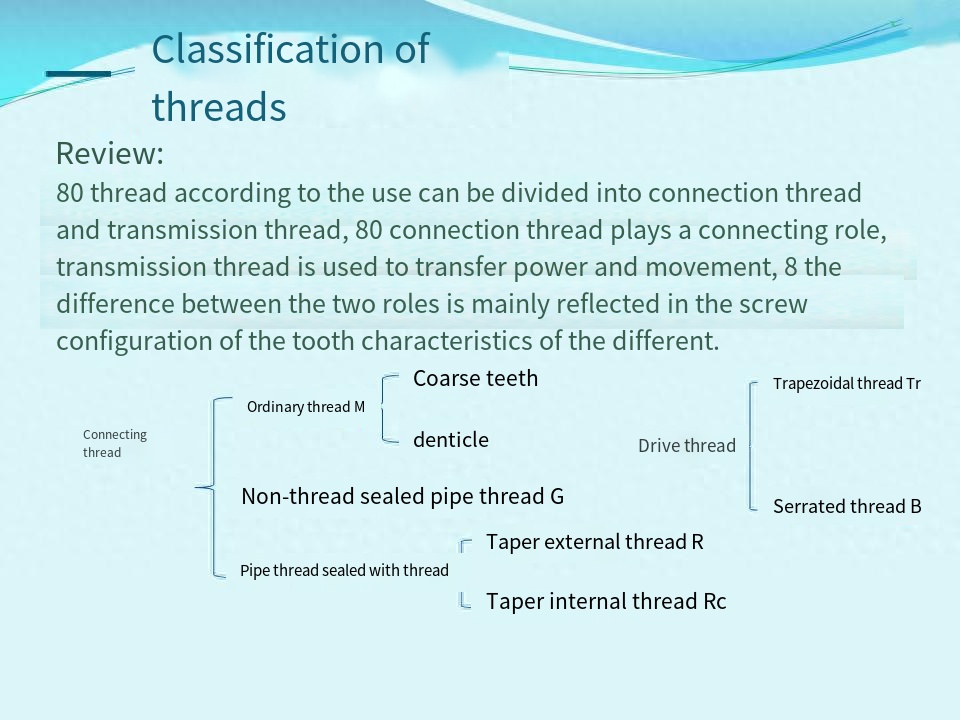
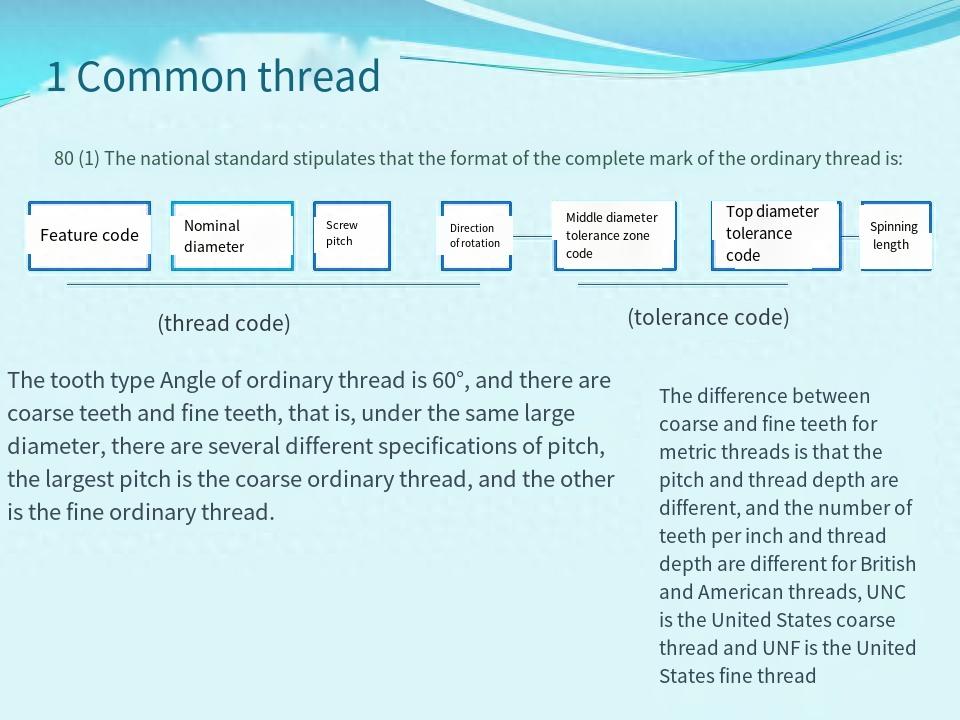
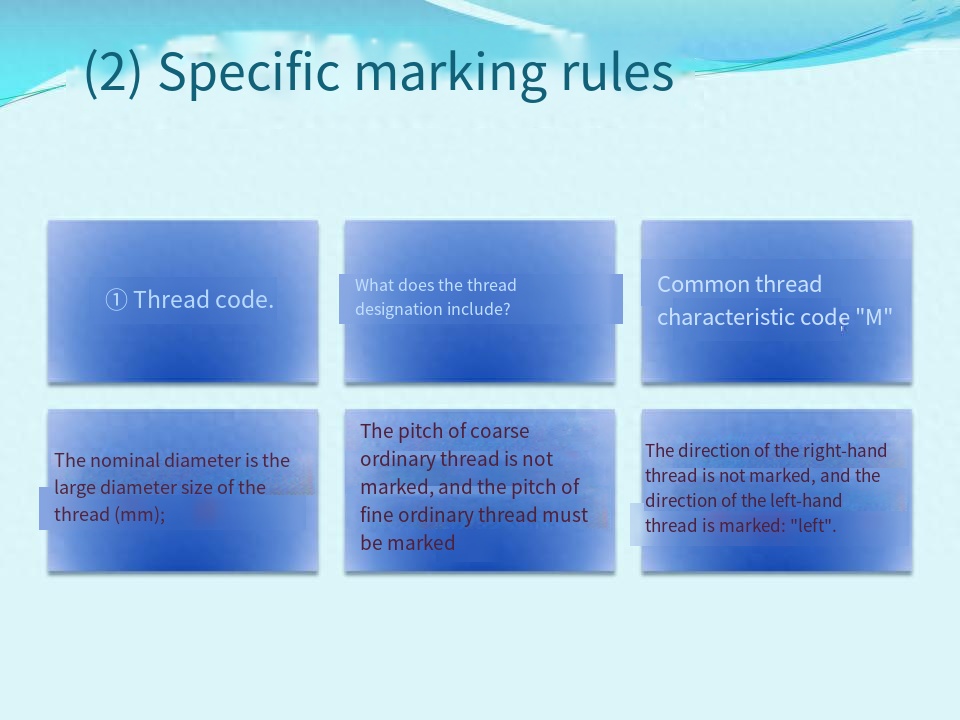
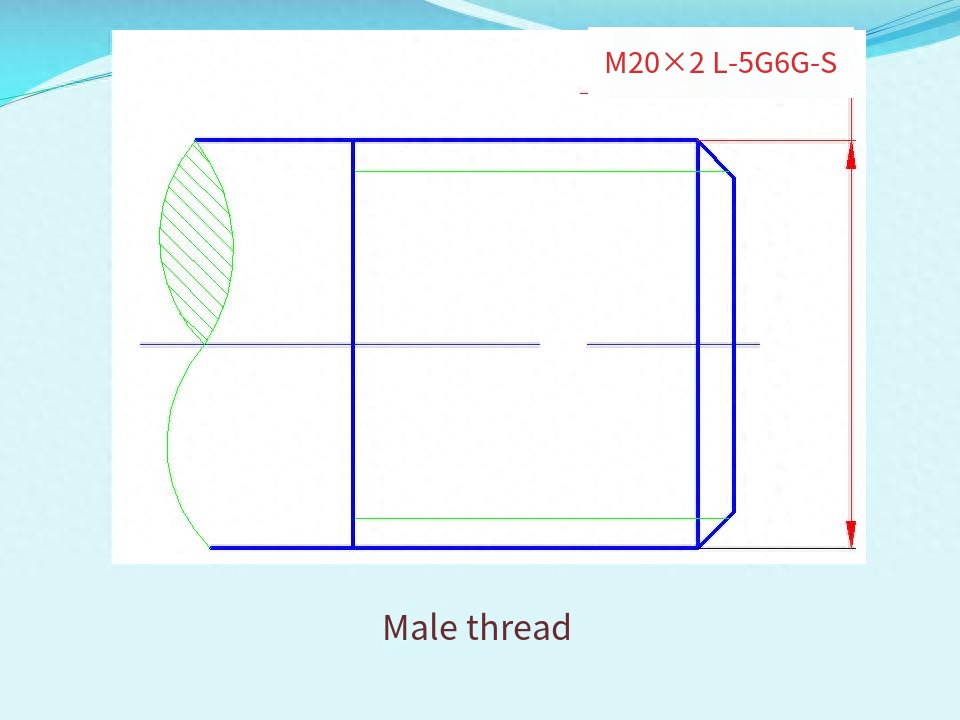
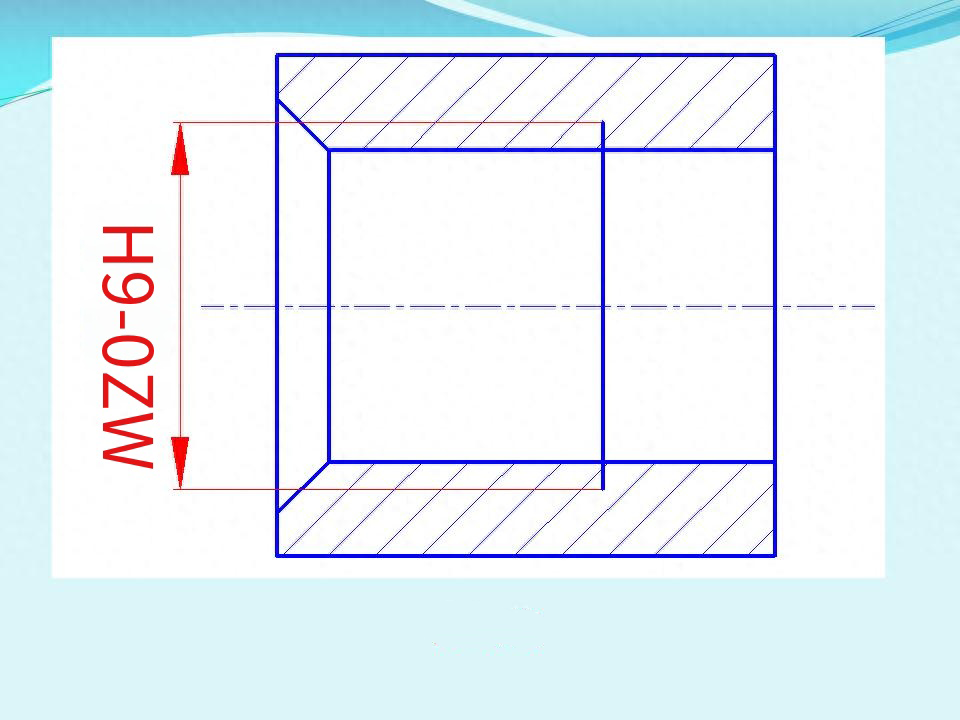
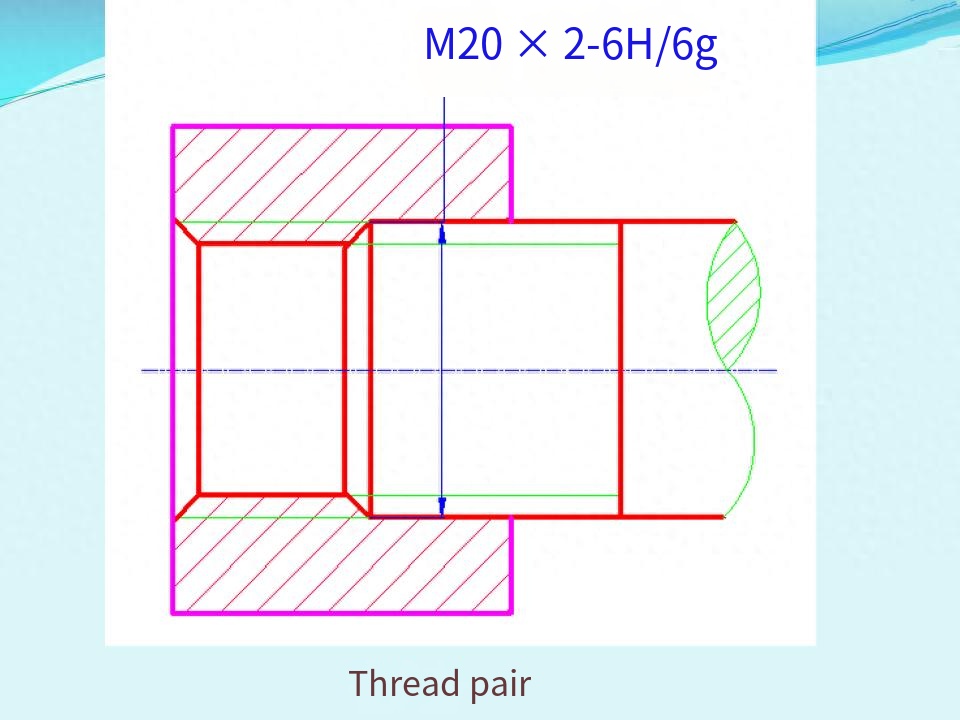
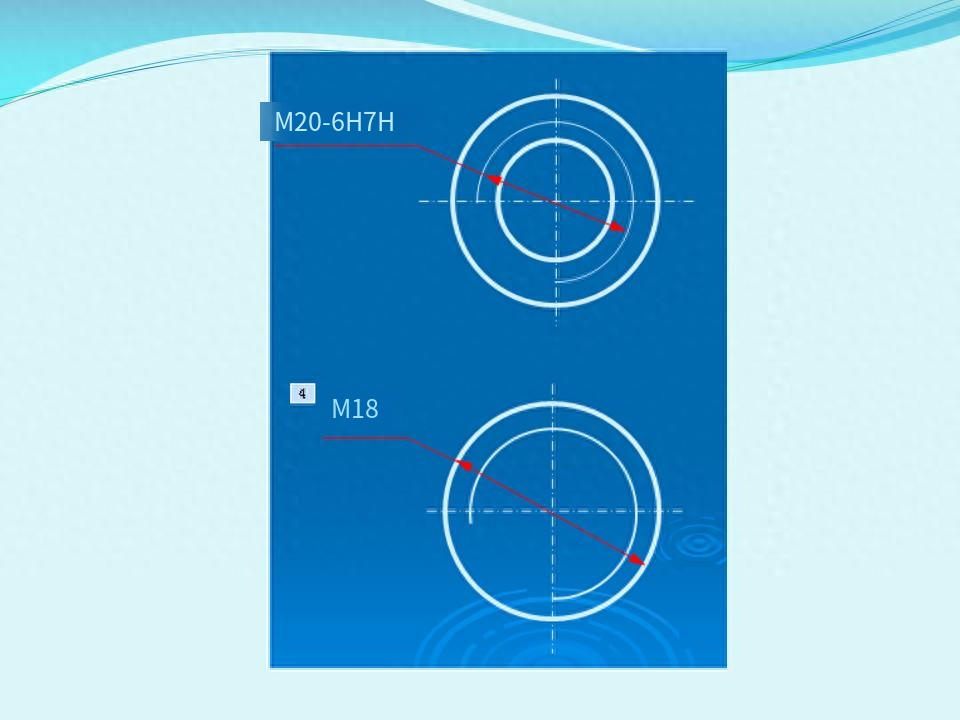
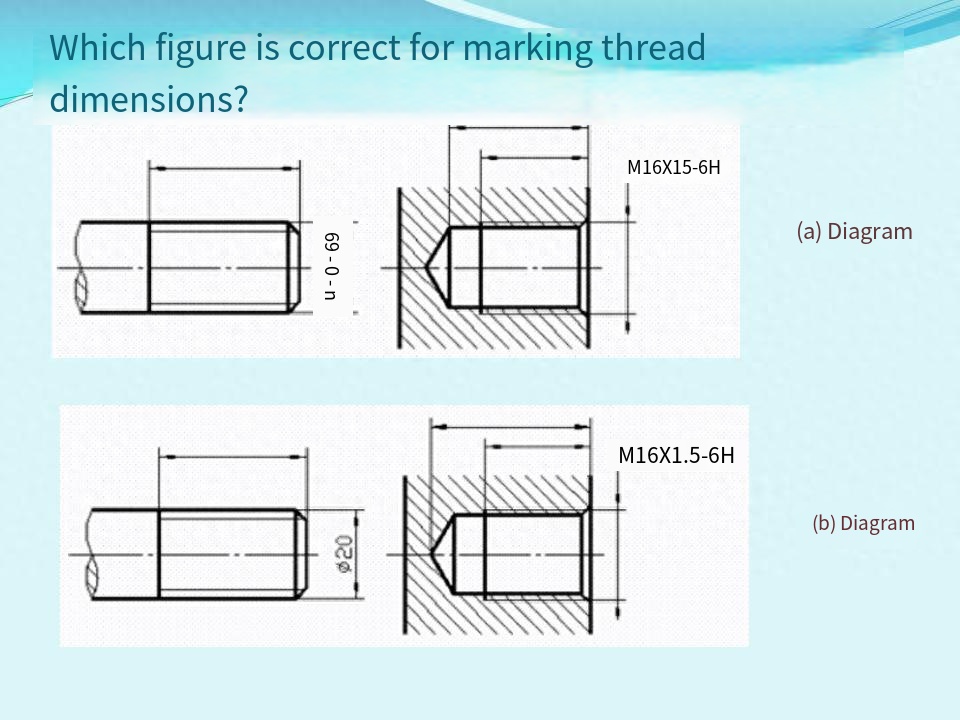
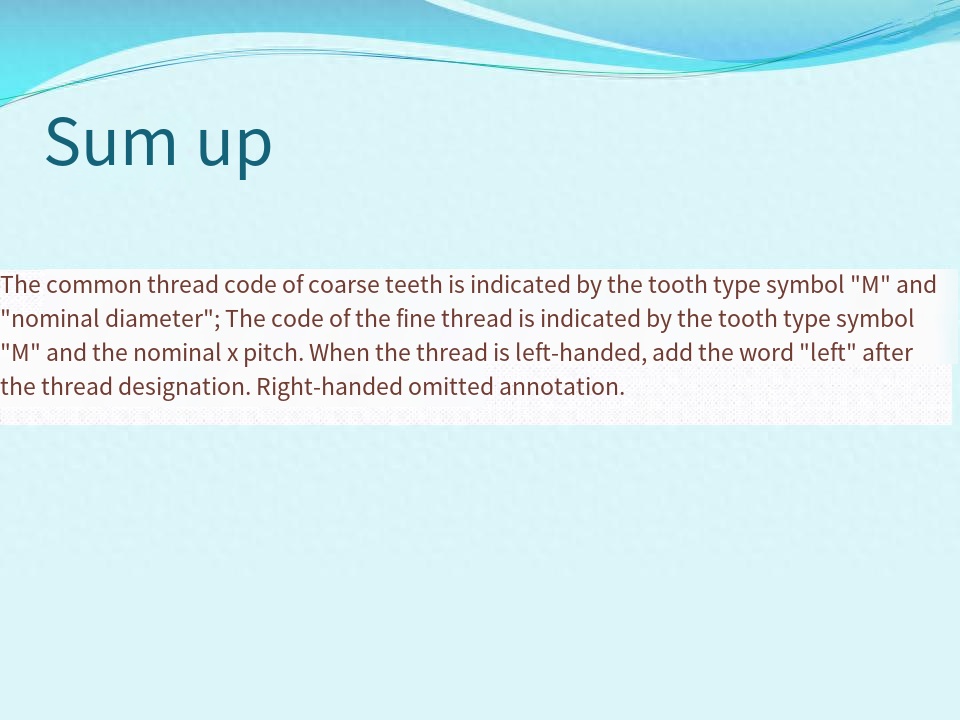
8In order to express the many elements of the thread clearly, so as to facilitate processing, the necessary annotation must be made in the pattern of the thread configuration, and the core of the annotation is the complete marking of the thread, for different tired threads its marking and marking rules are different, here only introduce several common thread marking and marking methods.
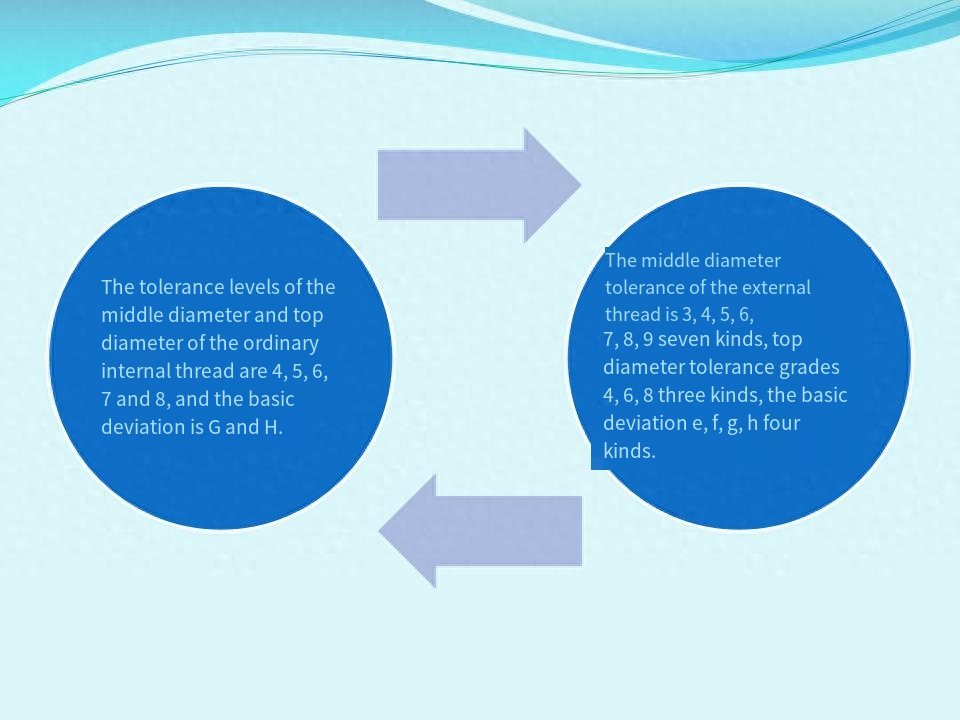
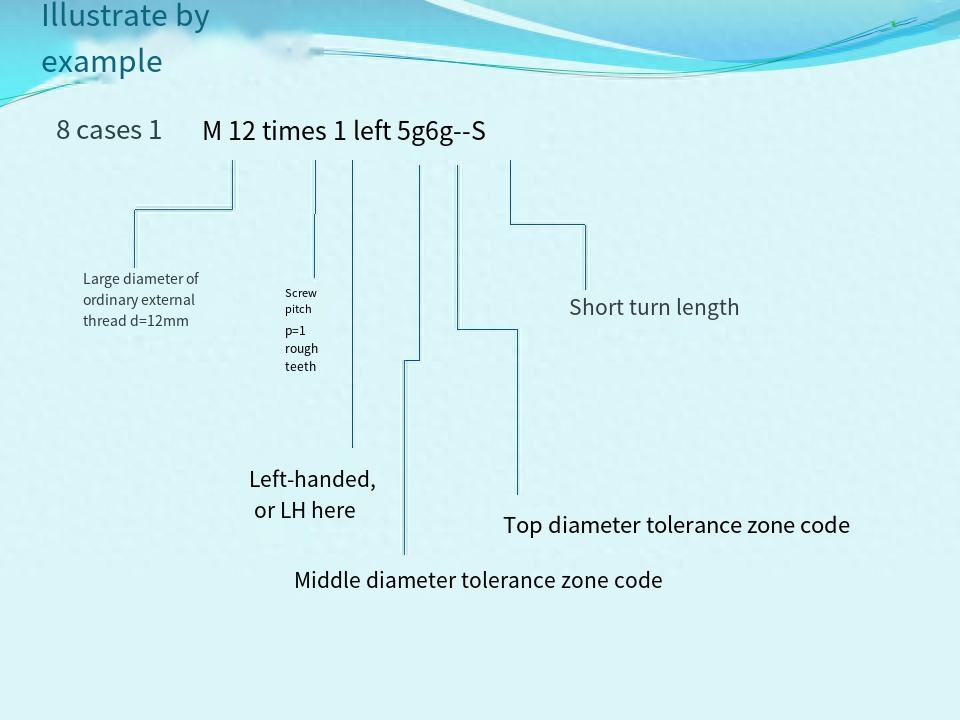
② Tolerance zone codeThe tolerance zone code is composed of the tolerance class number and the basic deviation code.80 It indicates the size of the allowable dimensional error at the time of manufacture.The tolerance band code of g thread is used to describe the machining accuracy of the thread, the number indicates the tolerance level, the letter indicates the deviation code, lowercase for the external thread, and uppercase for the internal thread.Group into. The common thread consists of two tolerances of the middle diameter and the top diameter
Such as the mass production of refined fastening threads, the recommended tolerance zone is: 6H (internal thread),6g (external thread); The tolerance zone preferred for general use is: 5H, 6H, 7H, 4h, 6e, 6f, 6g, 6h; Internal and external thread tolerance zones can be any combination, the best combination is: H/g, H/h or G/H.
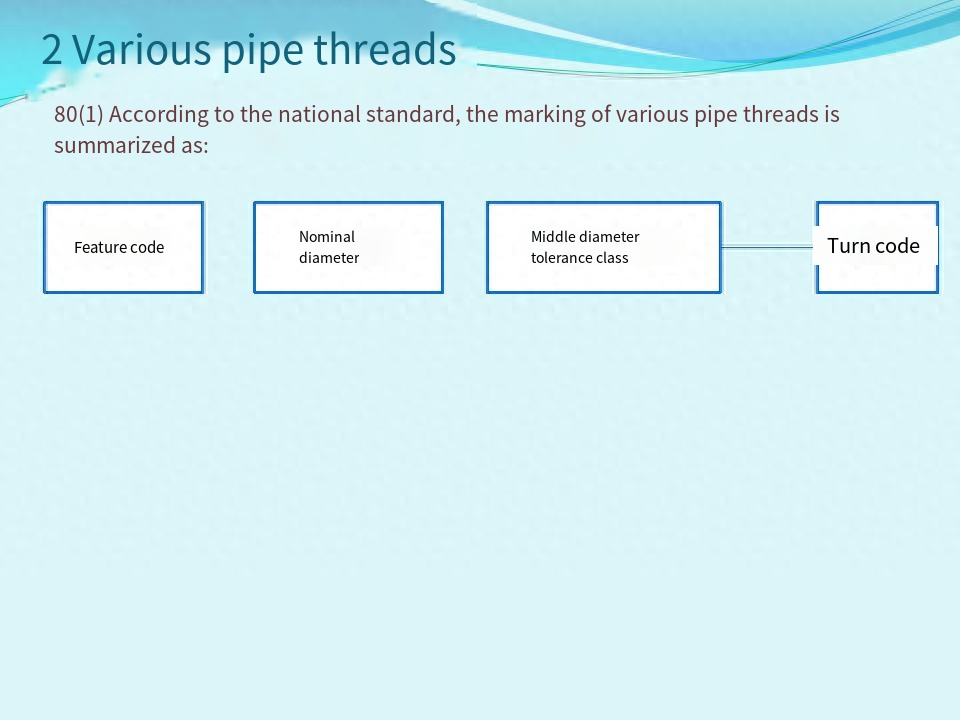
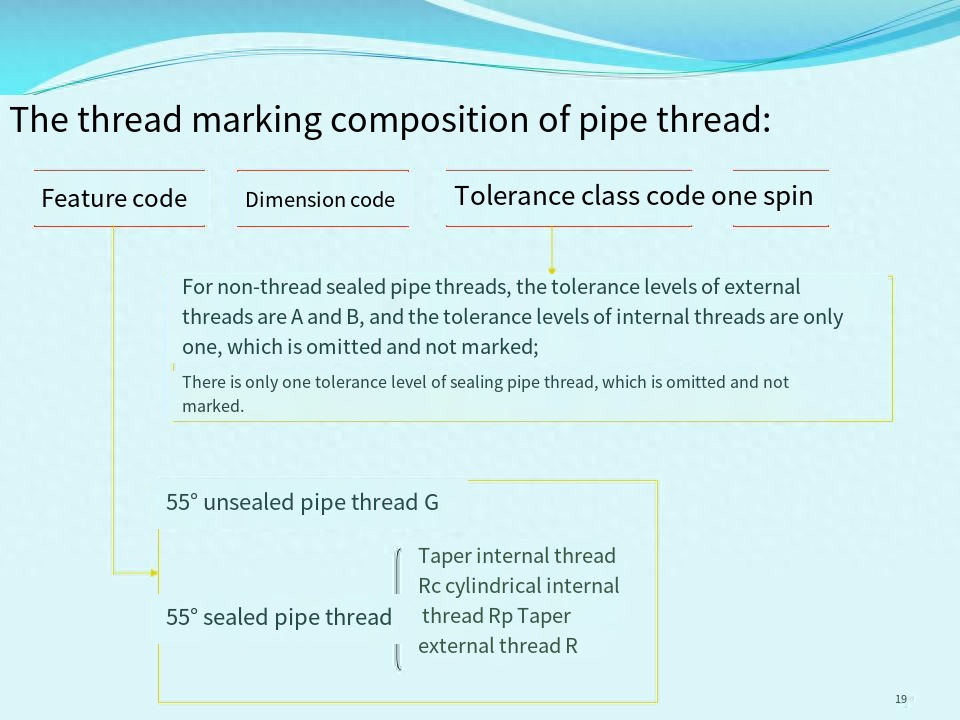
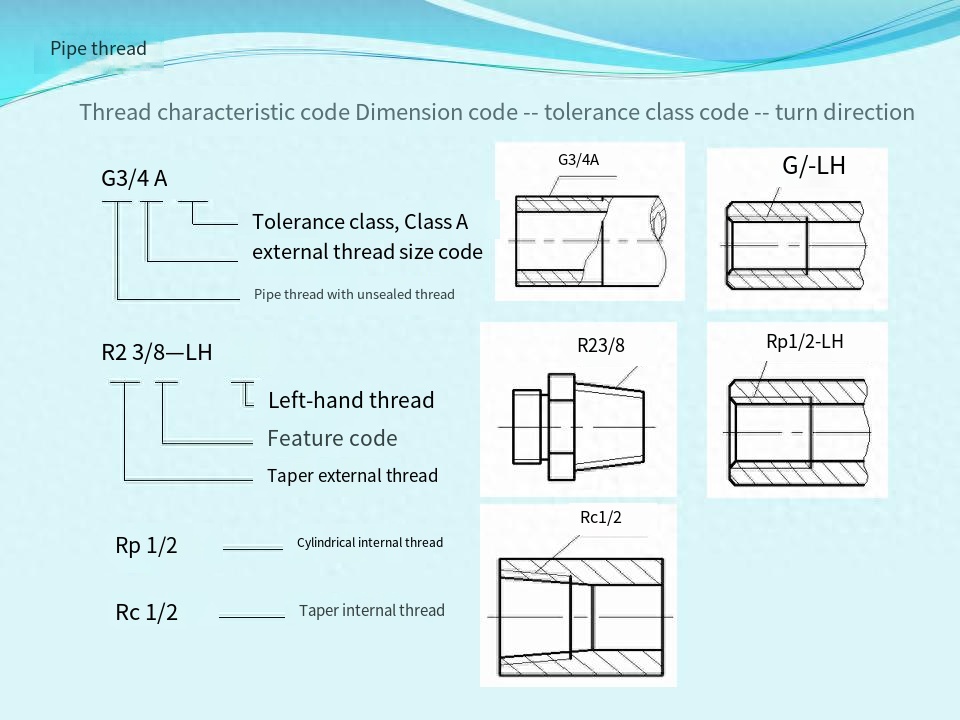
Specific marking rules8① The nominal diameter is not the large diameter of the pipe thread, but refers to the inner diameter of the pipe;80② in inches, but do not write the unit;8③ For the non-threaded sealed pipe threads with the feature code G, there are two diameter tolerance levels, respectively represented by A and B (external threads are divided into A and B, internal threads are not marked), and other pipe threads are not divided into middle diameter tolerance levels; ④ the direction of the right-hand thread is not marked;8⑤ Left-hand thread plus turn code “LH”.
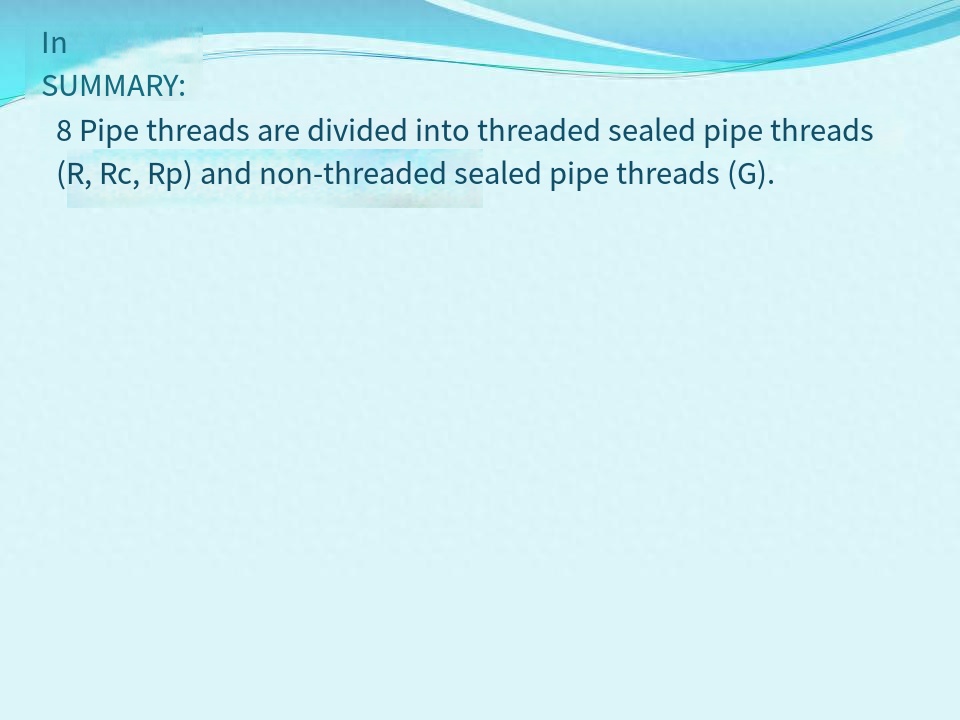
In the pipe connection of water pipes, oil pipes and gas pipes, there are non-threaded sealed internal and external pipe threads and pipe threads sealed with threads.80 Pipe threads should be marked with thread feature code and size code; 8 Non-thread sealed outer pipe threads should also be marked with tolerance levels.80 Note: The size code is not the outside diameter of the pipe, nor is it the large diameter of the thread, but rather refers to the nearsighted value of the pipe thread for the diameter of the pipe in inches.
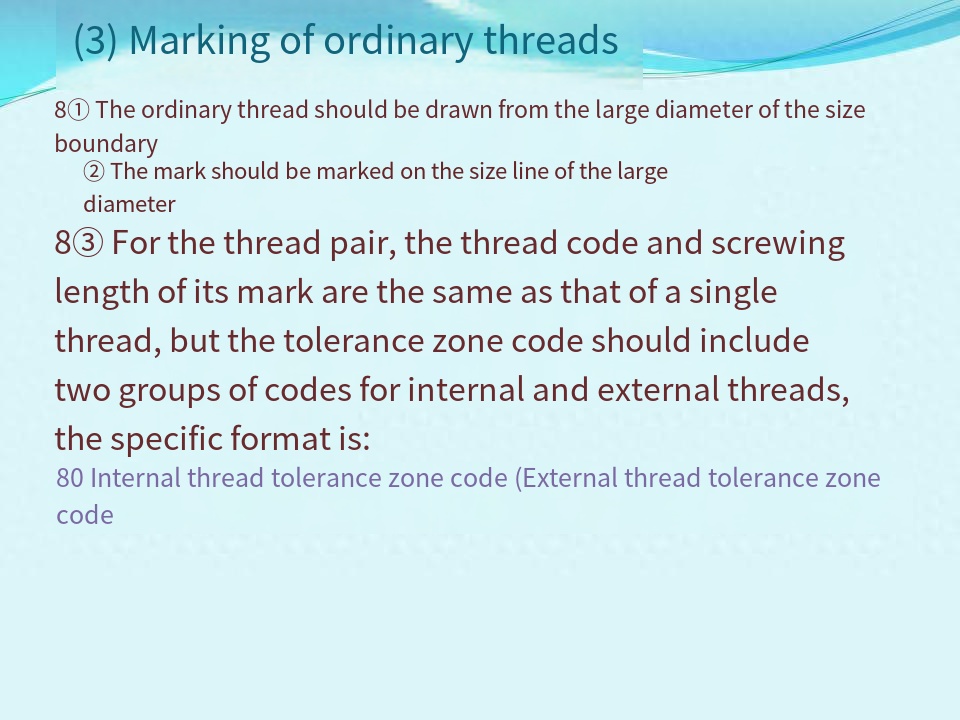
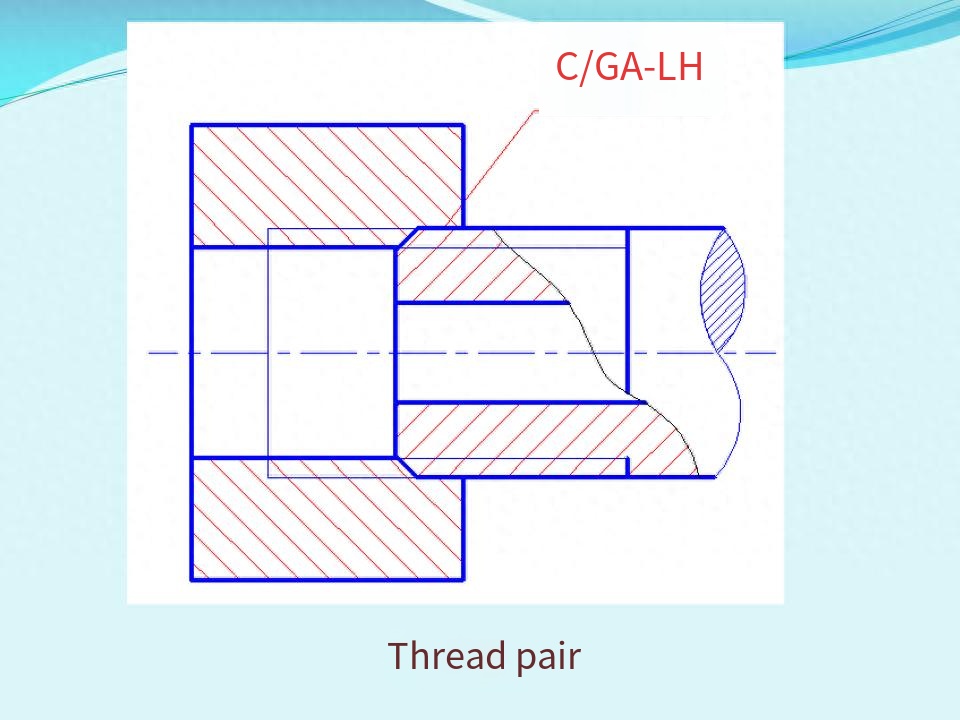
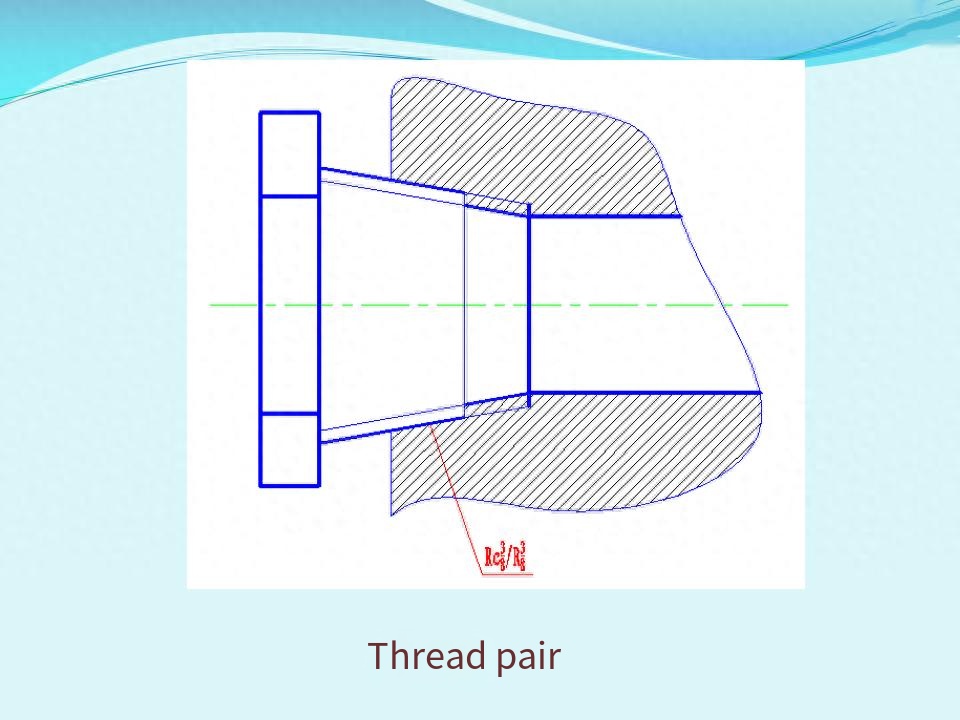
All kinds of pipe thread marking, the mark is always noted on the leading line, the leading line is led from the large diameter or symmetrical center.The marking of its thread pair is: internal thread mark/external thread mark 88 RC-cone internal thread, RP-cylindrical internal thread, 80R1 and R2 – taper external thread
Post time: Sep-18-2023


