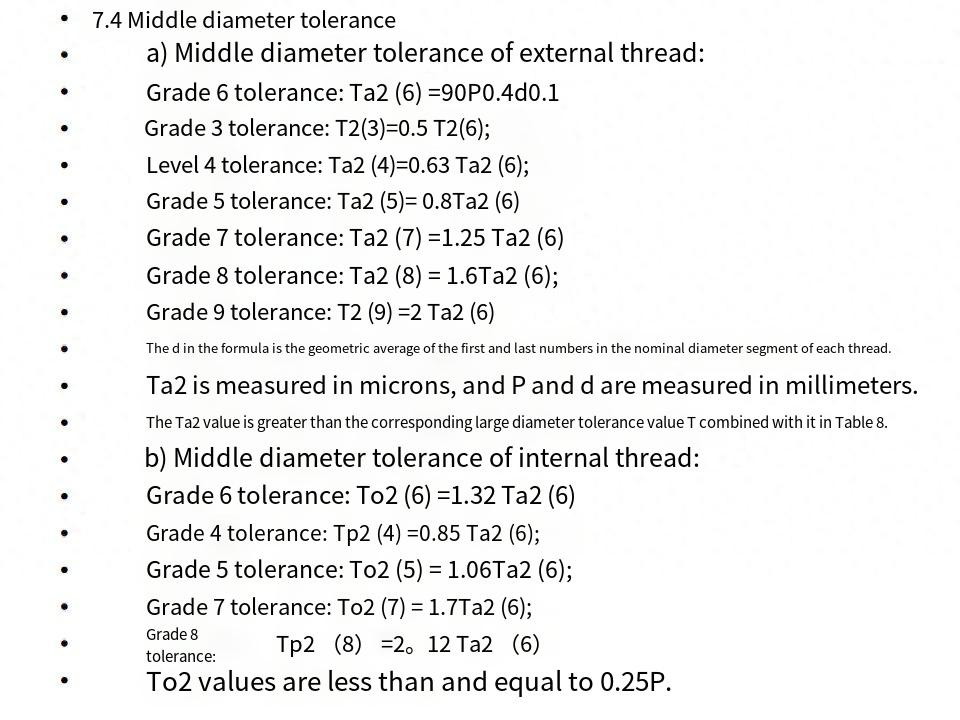
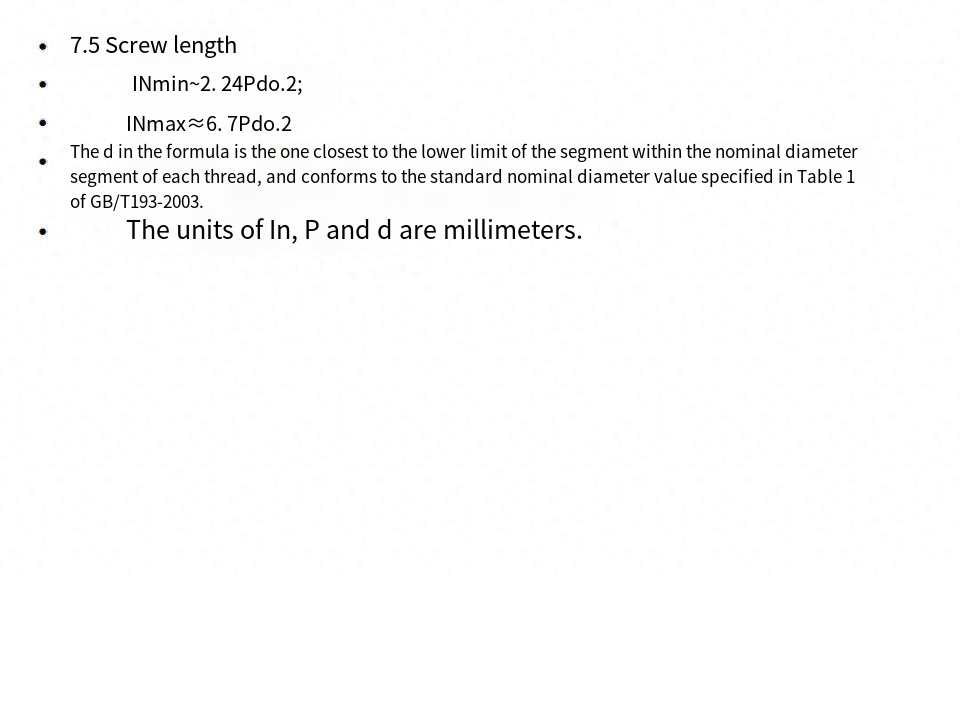
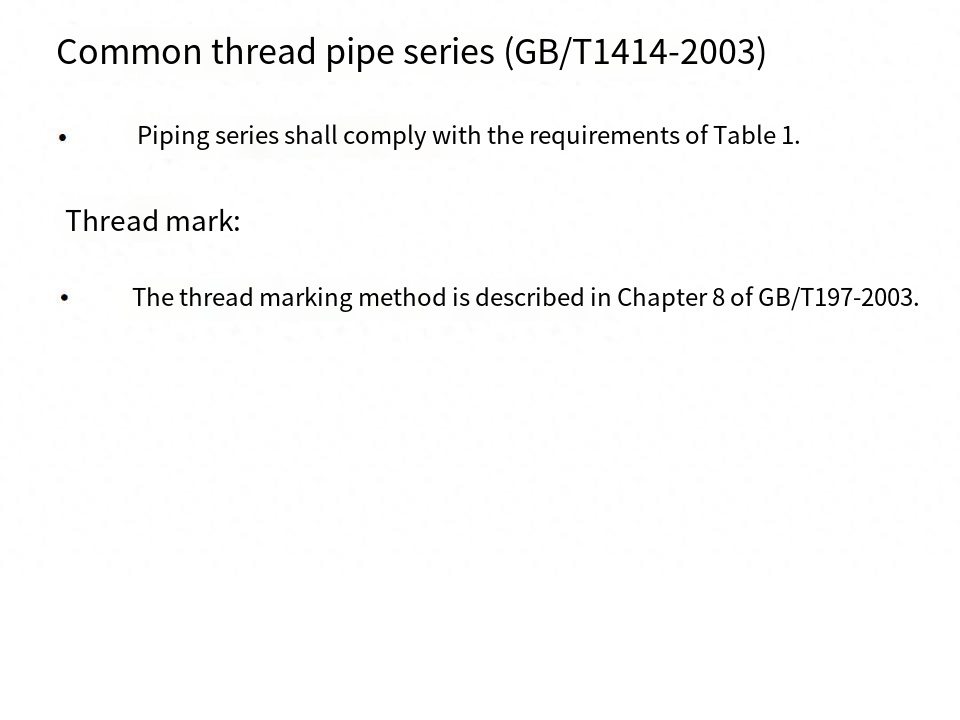
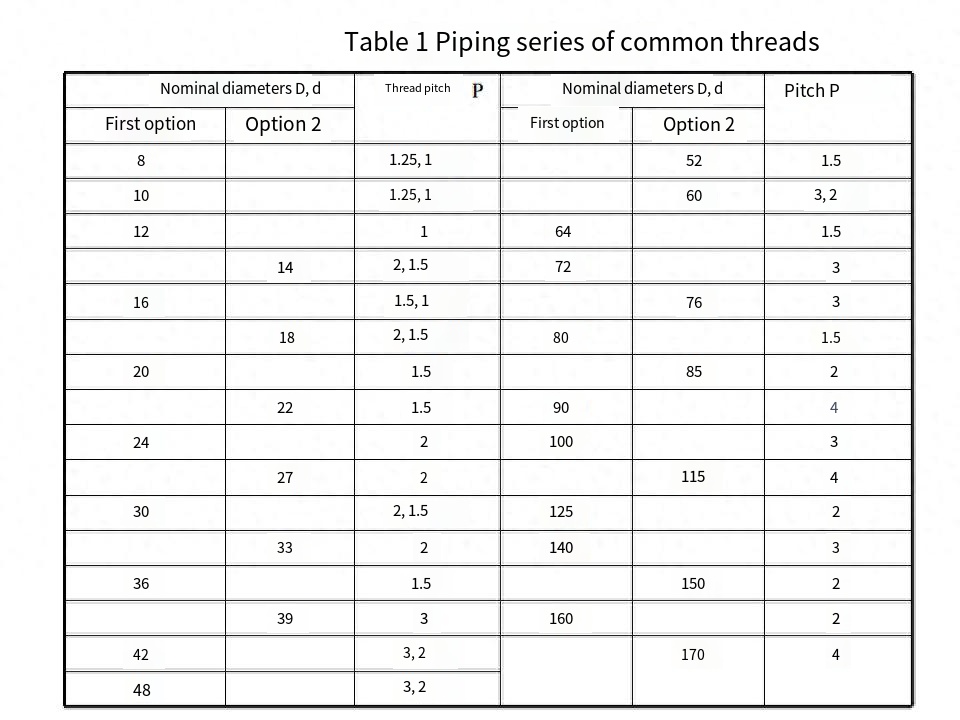
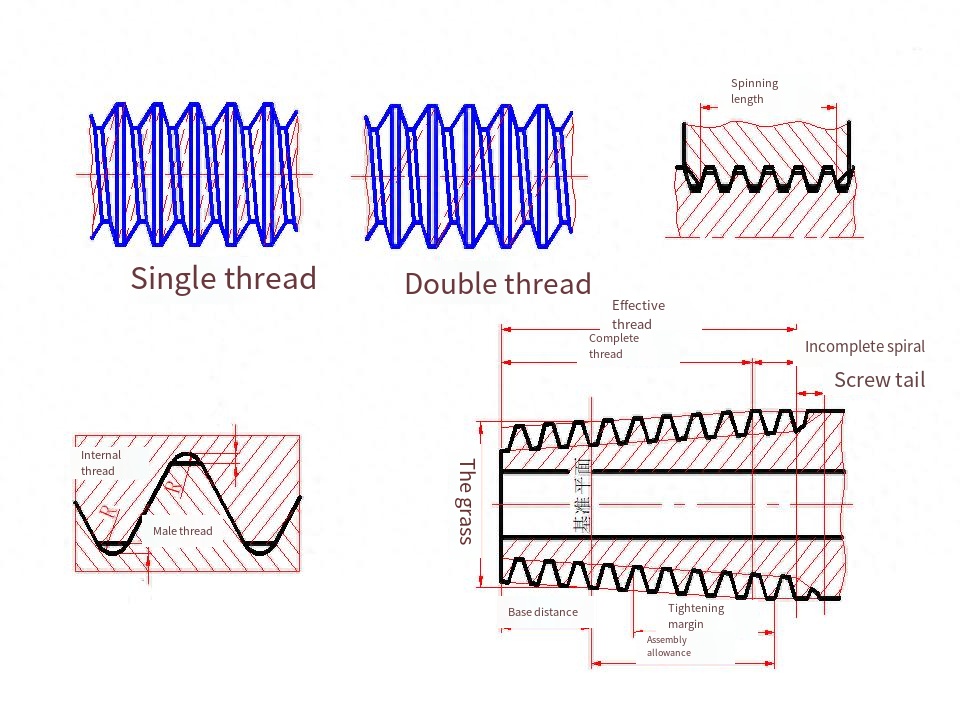
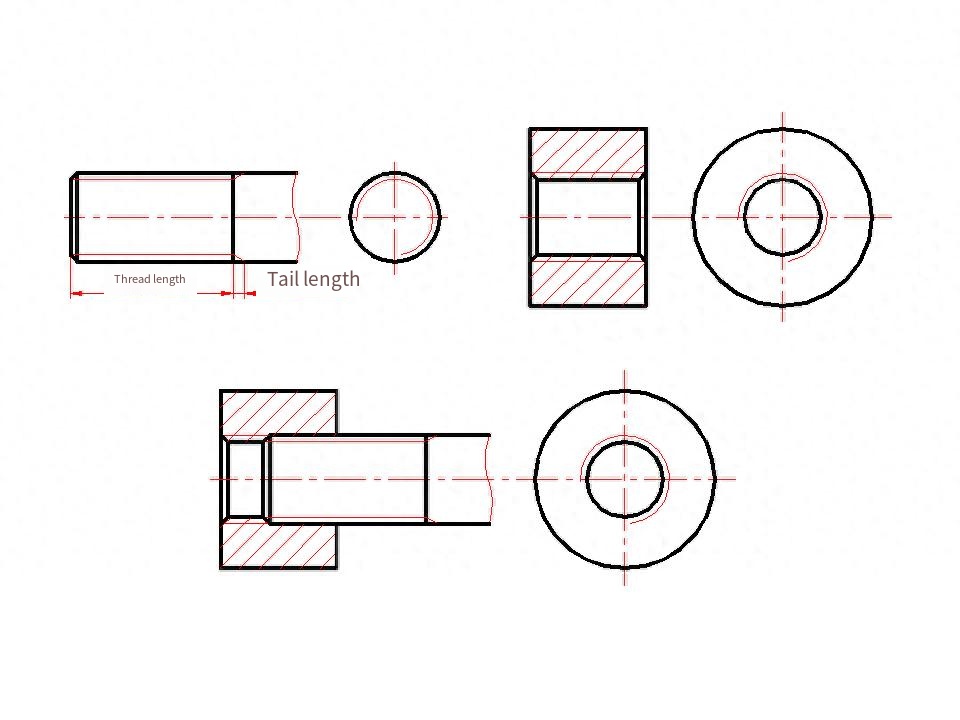
Standard series of diameter and pitch (GB/T193-2003)
The diameter and pitch standard combination series shall comply with the provisio of Table 1. In the table, the pitch should be selected in the same row as the diamete
Column diameter.Choose the first series of diameters first, the second series of diameters second, and then the Tertiary system last
Avoid choosing the pitch in brackets as much as possible.
The two specification threads with notes (a, b) in the table should be used only for the specific use for which they are defined
Special series of diameters and pitch:
For standard series diameters, if a special pitch smaller than thatspecified in Table 1 is required, it should be selected from the following:
3mm, 2mm, 1.5mm, 1mm, 0. 75mm, 0. 5mm, 0. 35mm, 0. 25mm, 0. 2mm
Selecting a pitch smaller than that specified in Table 1 will increase the difficulty of thread manufacturing
Corresponding to the pitch in Table 2, the maximum special diameter selected should not be outside the diameter range defined in Table 2.
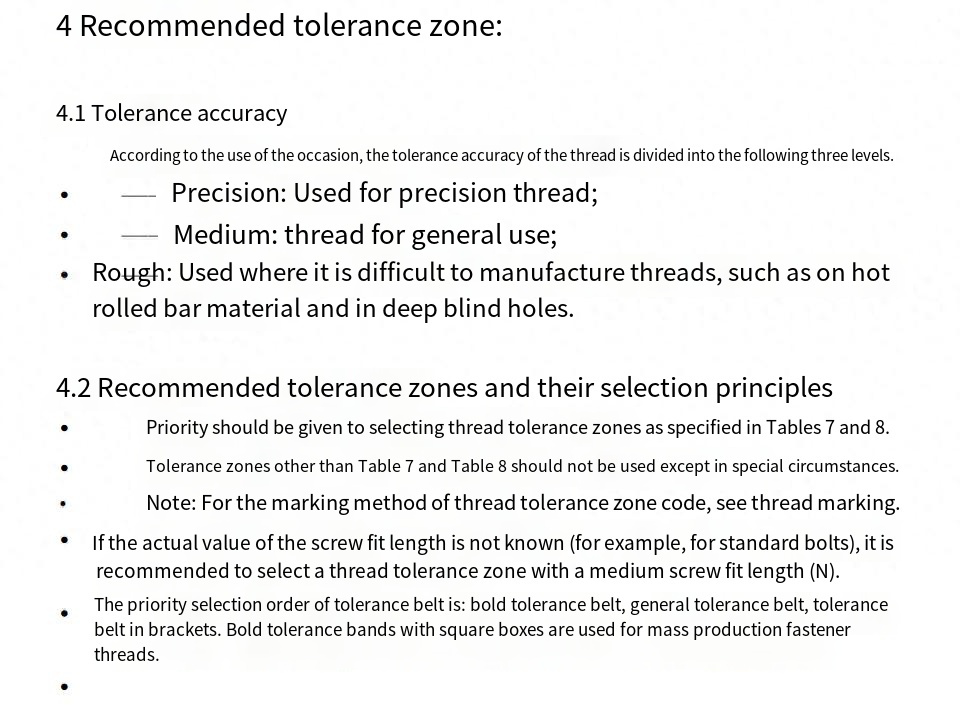
7.3 Top diameter tolerance
a) Large diameter tolerance of external thread:
Grade 6 tolerance: Ta (6)-180P3-3.15
Level 4 tolerance: Ta (4) =0.63Ta (6)
Grade 8 tolerance: Ta (8) =1.6Ta (6)
Ta is measured in microns and P is measured in millimeters.
b) Minor tolerance of internal thread:
Grade 6 tolerance:1) When 0.2mm<P<0.8mm: Tp1 (6) =433P-190P1.222) When P>1mm:1 (6) =230P0.7
Level 4 tolerance: Tpi (4)=0.63 Tp (6)
:Grade 5 tolerance: Toi (5) =0.8 Tbi (6);Grade 7 tolerance: Tpi (7) =1.25 Tbi (6);Grade 8 tolerance: To(8) = 1.6Tp1 (6To is measured in microns and P in millimeters.
Limit deviation (GB/T2516-2003)
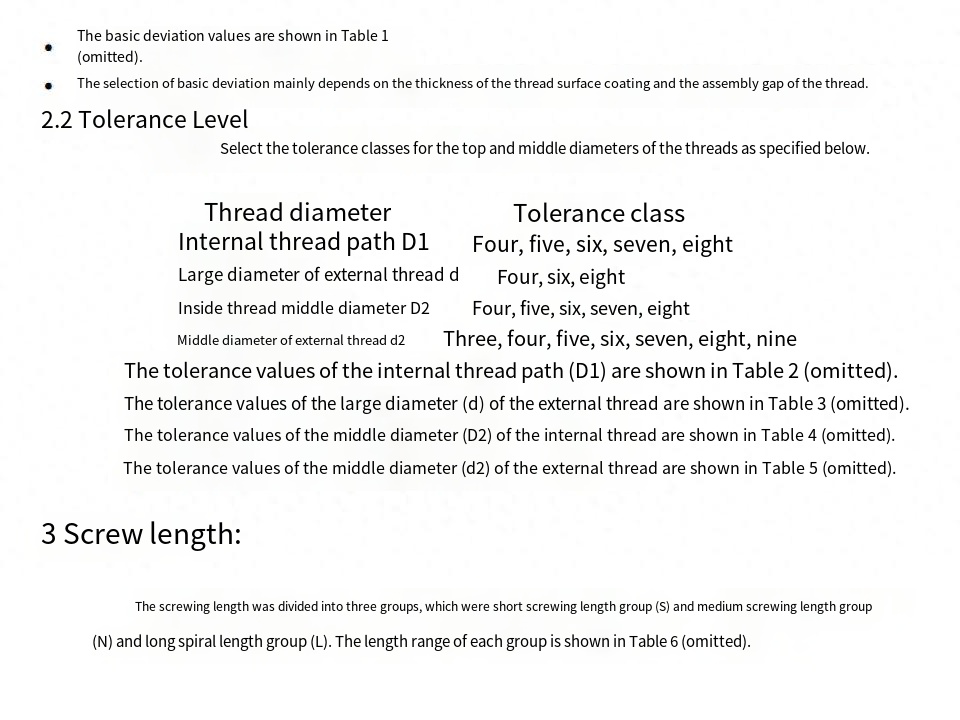
The limit deviation values of thread middle diameter and top diameter are shown in Table 1 (omitted).
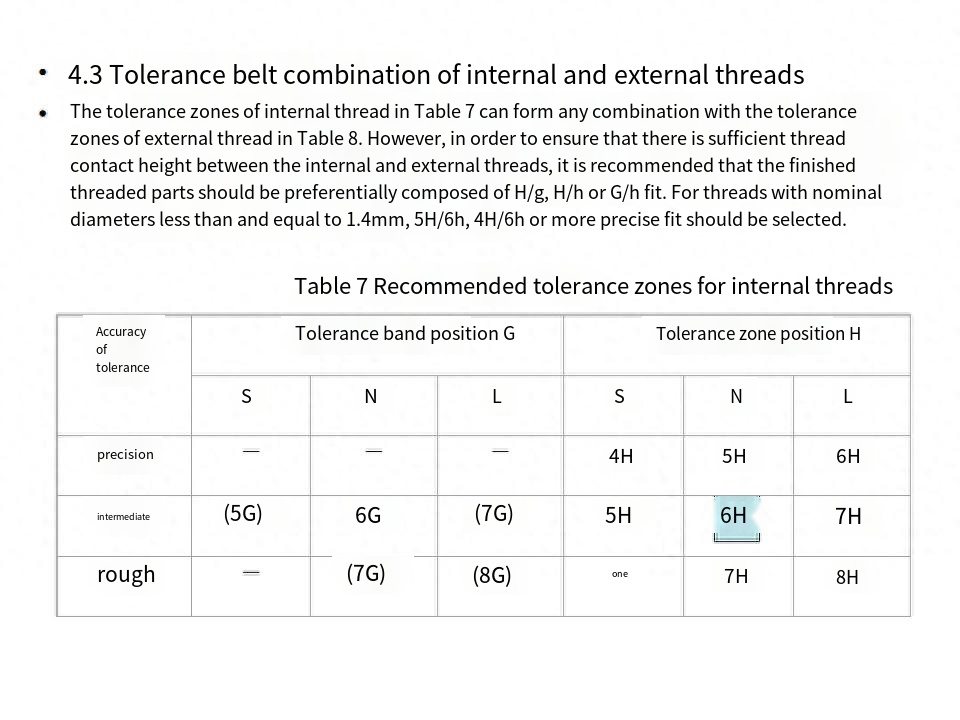
Any point on the bottom profile of the internal and external threads should not exceed the maximum solid profile determined by the basic profile and tolerance zone position.The deviation value of the diameter of the table is given according to the H/6 cutting height, which can be used to calculate the stress of the external thread.
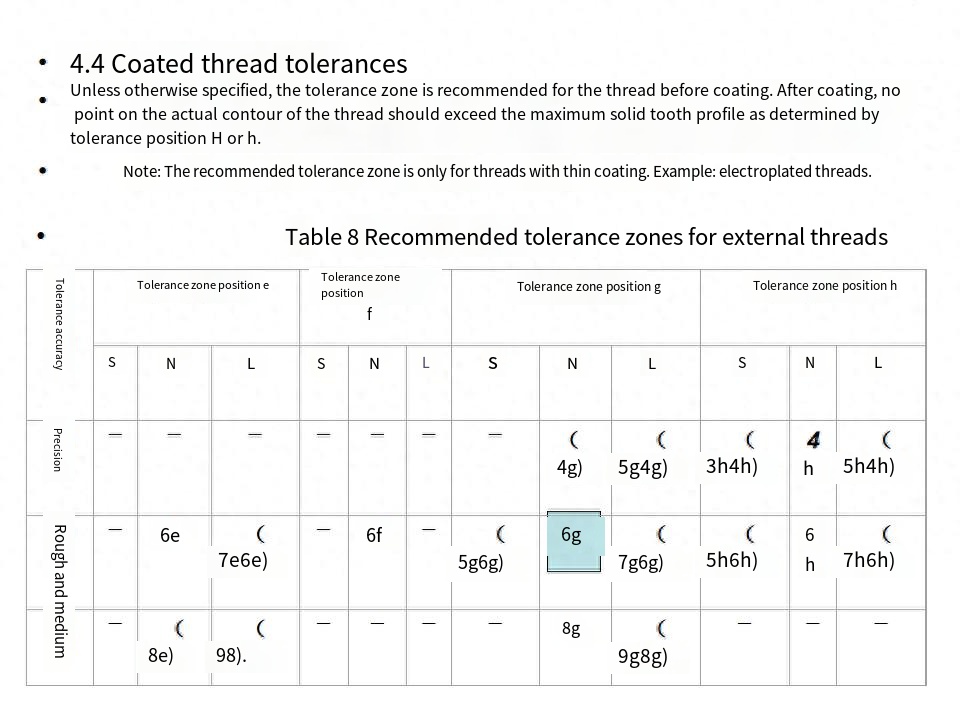
Note: The deviation of the minor diameter of the external thread is calculated as -(les + H/6). Unless otherwise specified, the tolerance zone applies to threads before plating. After plating, no point on the thread profile should exceed the maximum solid tooth profile determined by the tolerance zone position H or h.Note: Tolerance bands are only applicable to thinly coated threads. For example, electroplating thread.
Post time: Sep-19-2023

