9.4 ThreadMeasurement
9.4.2 Single Measurement
There are many methods for single measurement of thread, the most typical one is to use the universal tool microscope to measure the diameter, pitch and half Angle of thread. The tool microscope is used to enlarge the profile of the measured thread and measure its pitch, half Angle and middle diameter according to the image of the measured thread, so the method is also called image method.
For large size ordinary threads, precision threads and drive threads, in addition to the rotability and reliability of the connection, there are other accuracy and functional requirements, and a single measurement is generally used in production.
In actual production, the three-pin measuring method is used to measure the middle diameter of external thread. This method is simple, high measuring precision and widely used.
Summary of this chapter
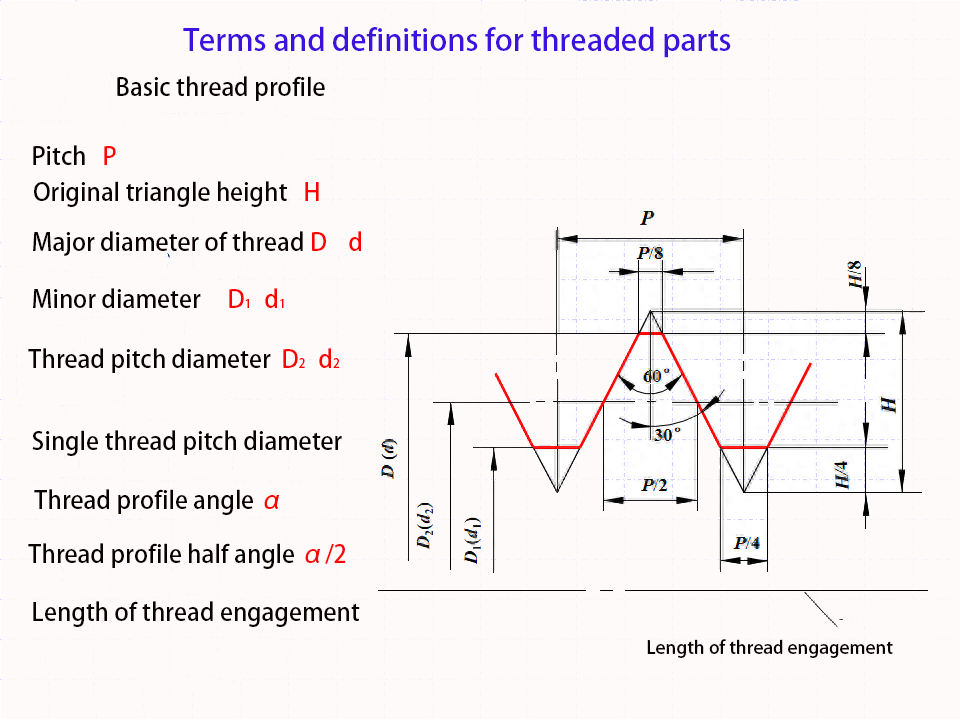
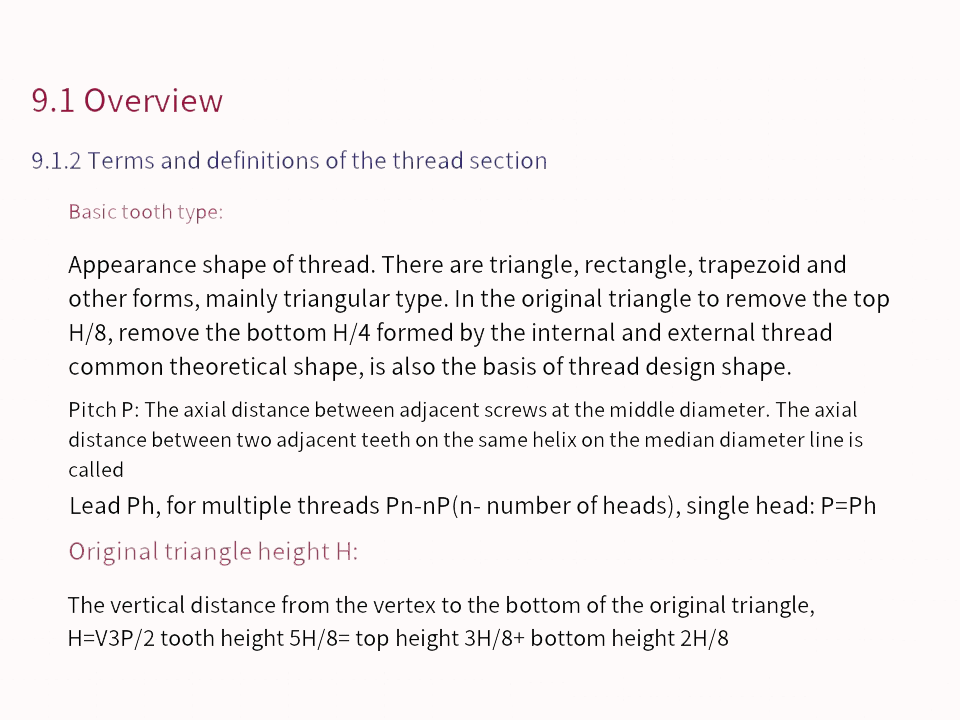
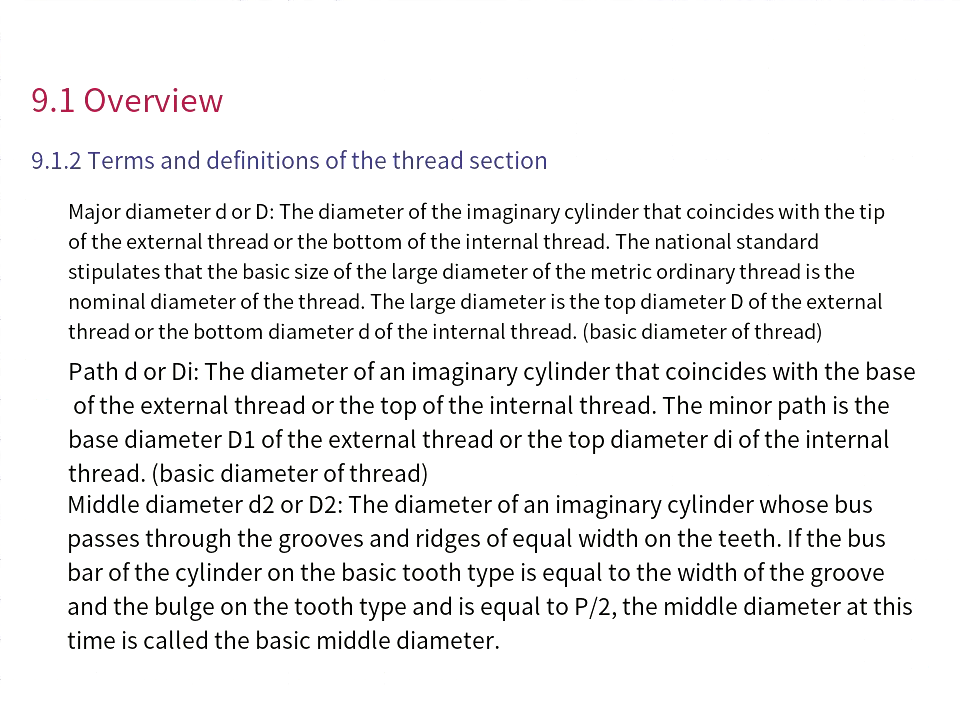
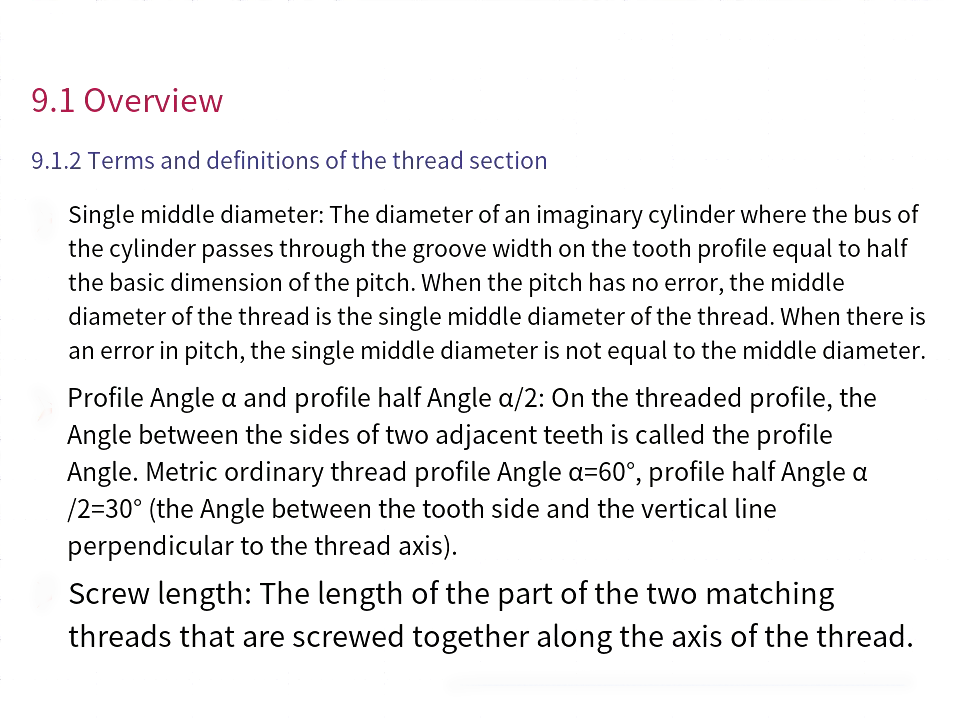
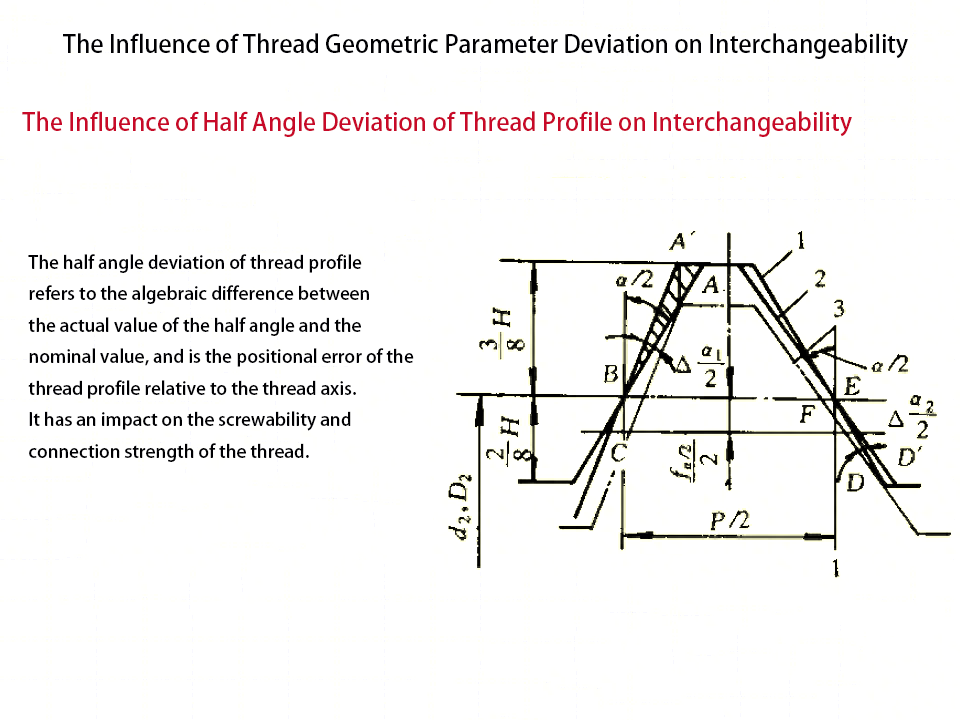
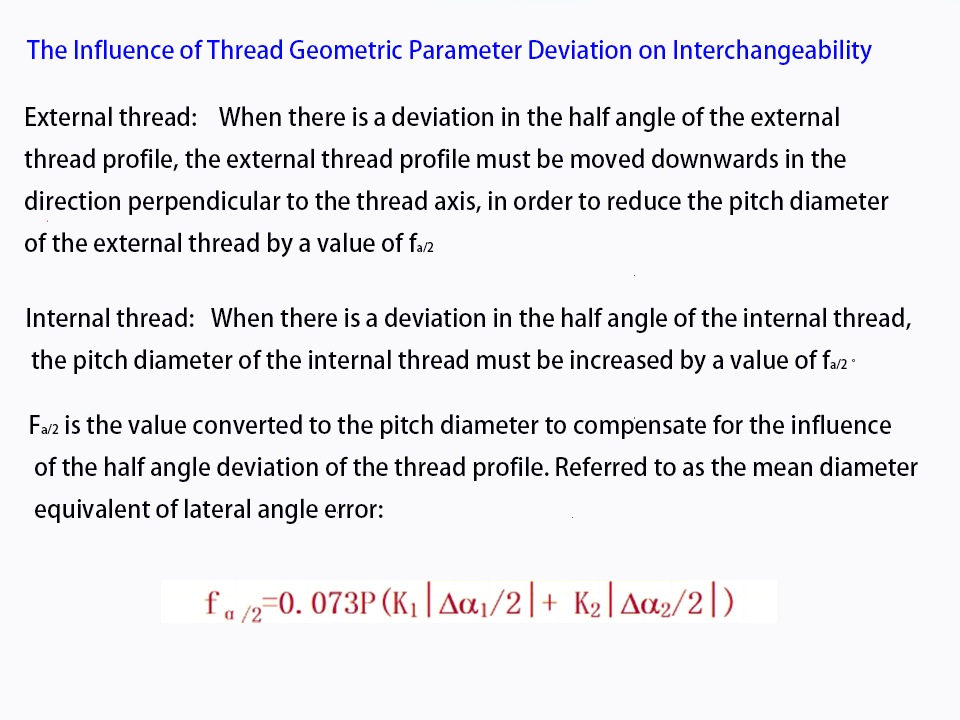
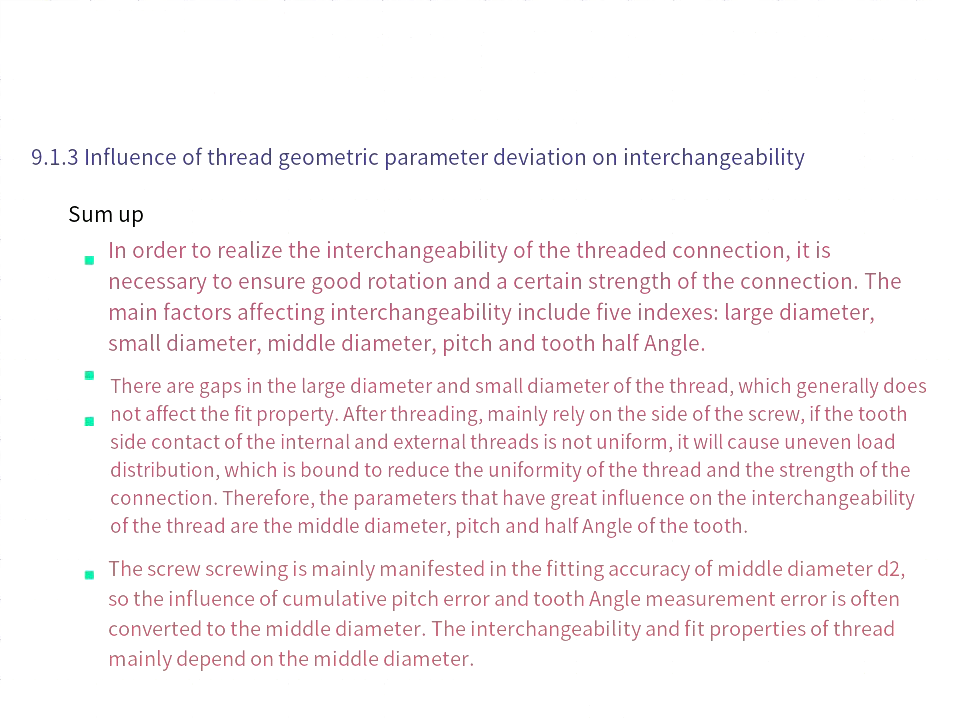
1) Main terms and geometric parameters of common threads Basic tooth type, large diameter (D, d), small diameter (D, di), middle diameter (D2, d2), acting middle diameter, single middle diameter, actual middle diameter, pitch (P), tooth Angle (a) and tooth half Angle (a/2), thread length, etc.
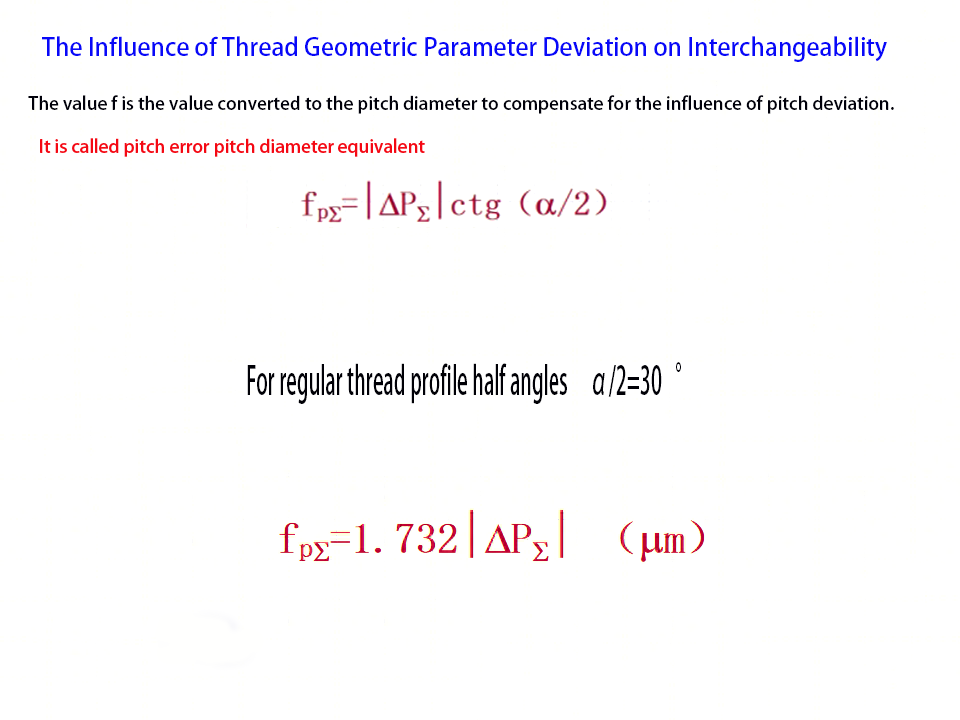
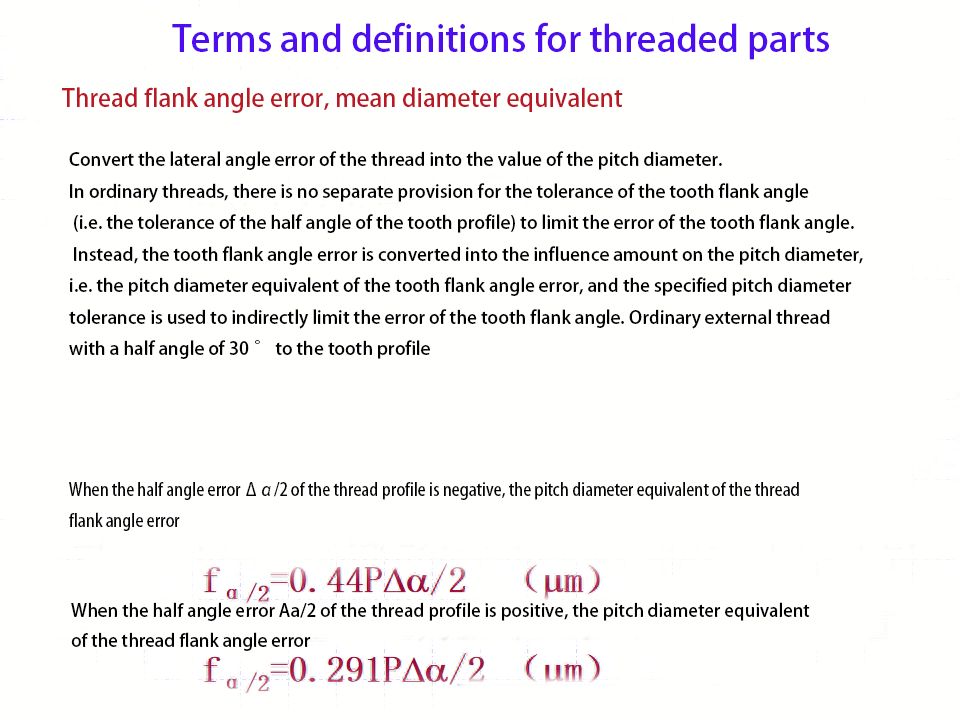
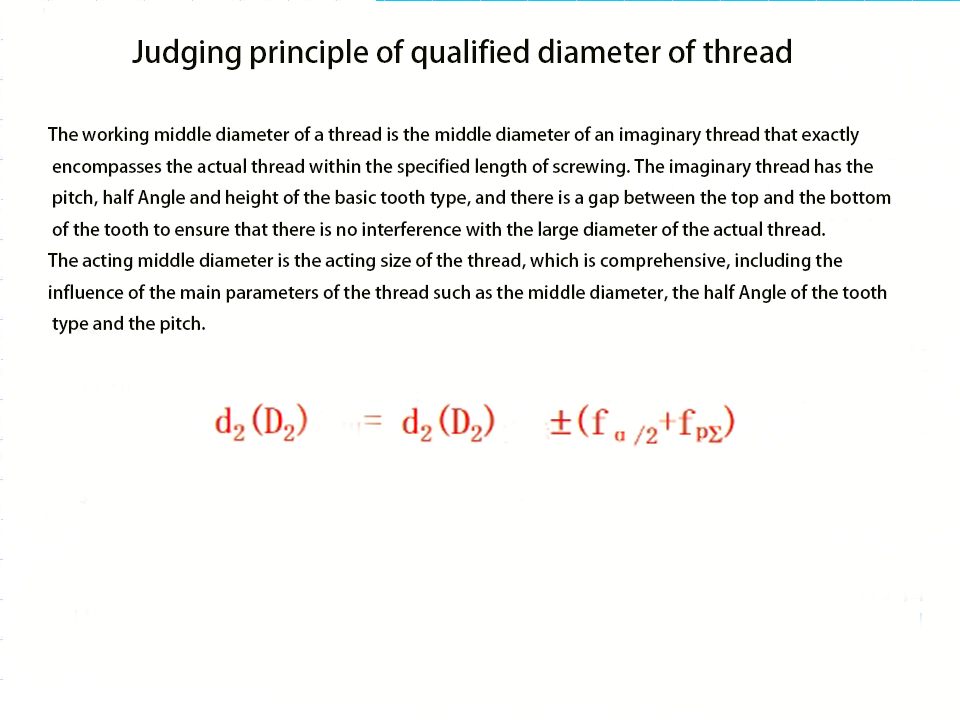
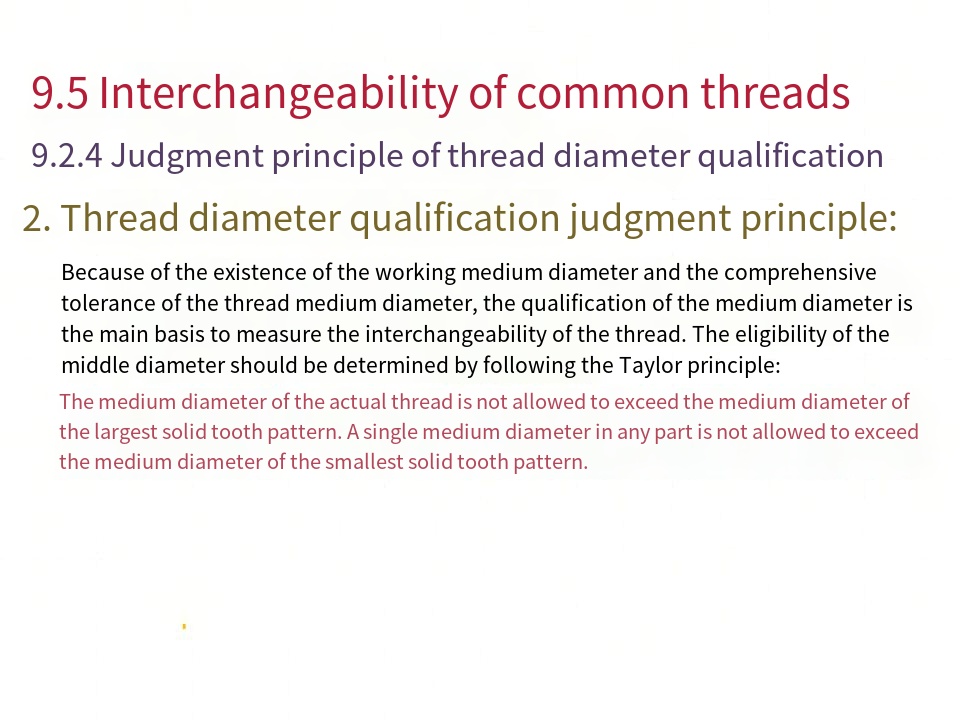
2) The concept of the acting medium diameter and the qualifying condition of the medium diameter affect the spinning ability, and the actual medium diameter affects the reliability of the connection. Whether the medium diameter is qualified or not should follow the Taylor principle, and both the actual medium diameter and the active medium diameter are controlled within the tolerance zone of the medium diameter.
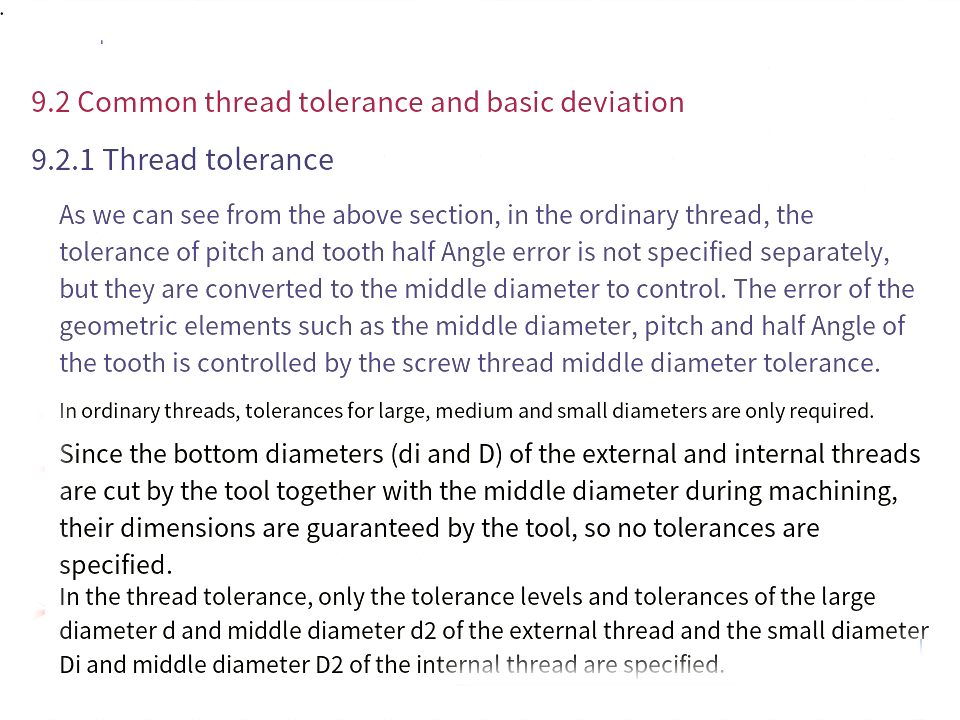
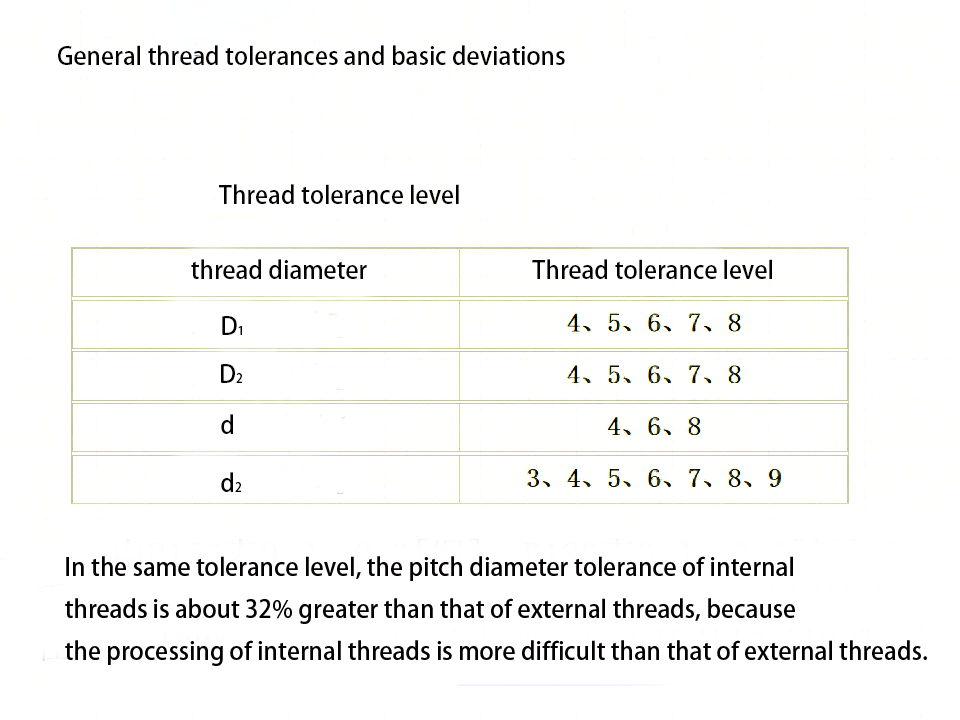
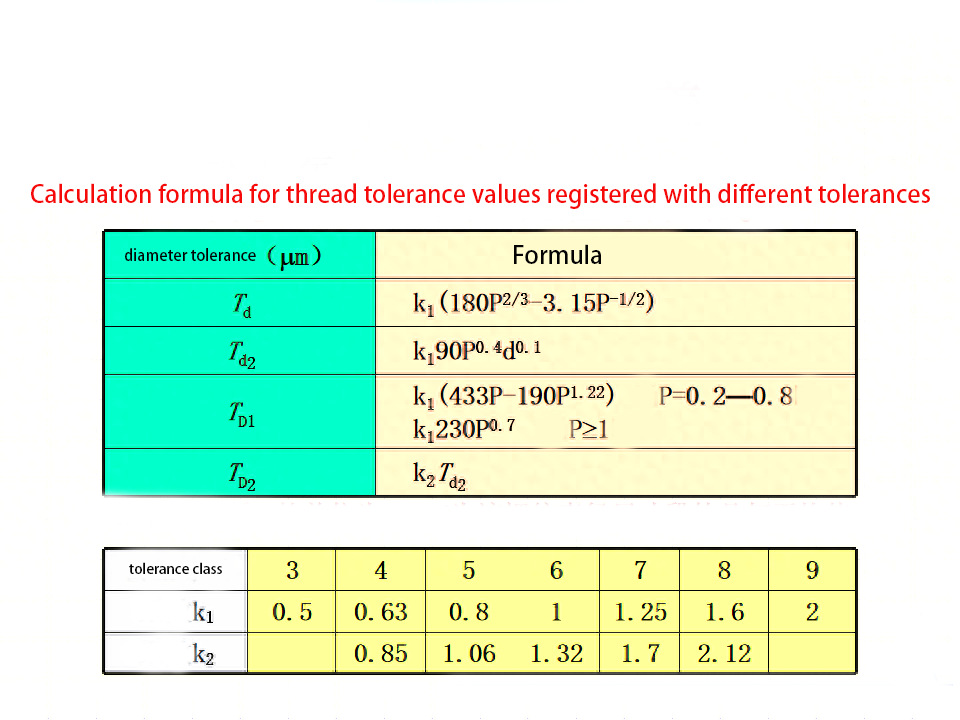
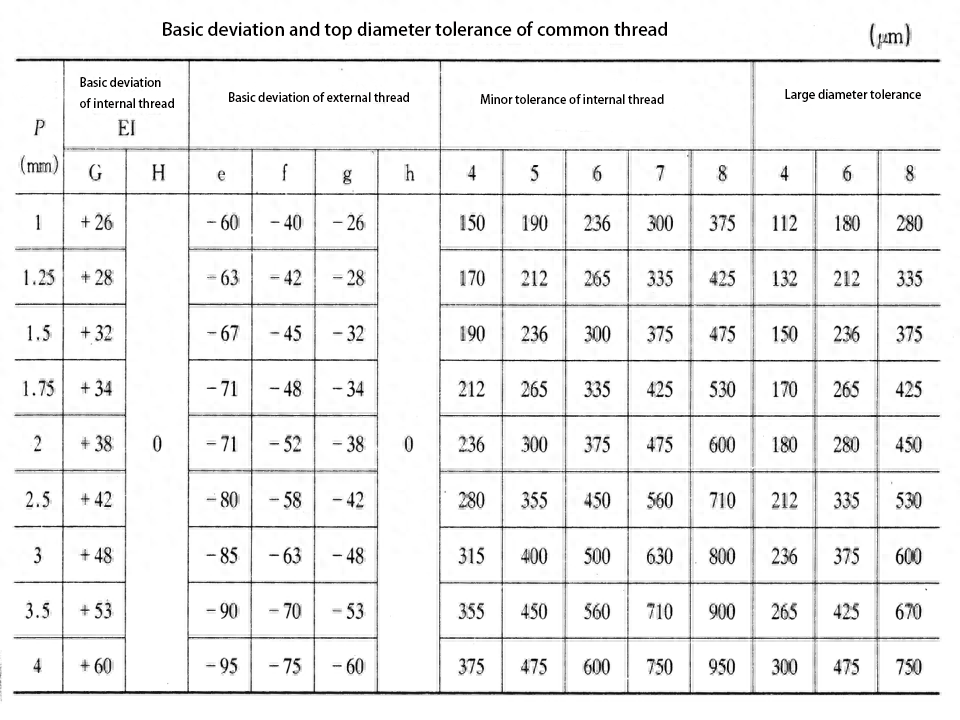
3) Common thread tolerance level: In the thread tolerance standard, the tolerances of d, d and 2, D are specified. Their respective tolerance levels are shown in Table 9-1. No tolerances are specified for pitch and tooth type (controlled by the middle diameter tolerance zone), and no tolerances are specified for minor d of external thread and large diameter of internal thread.
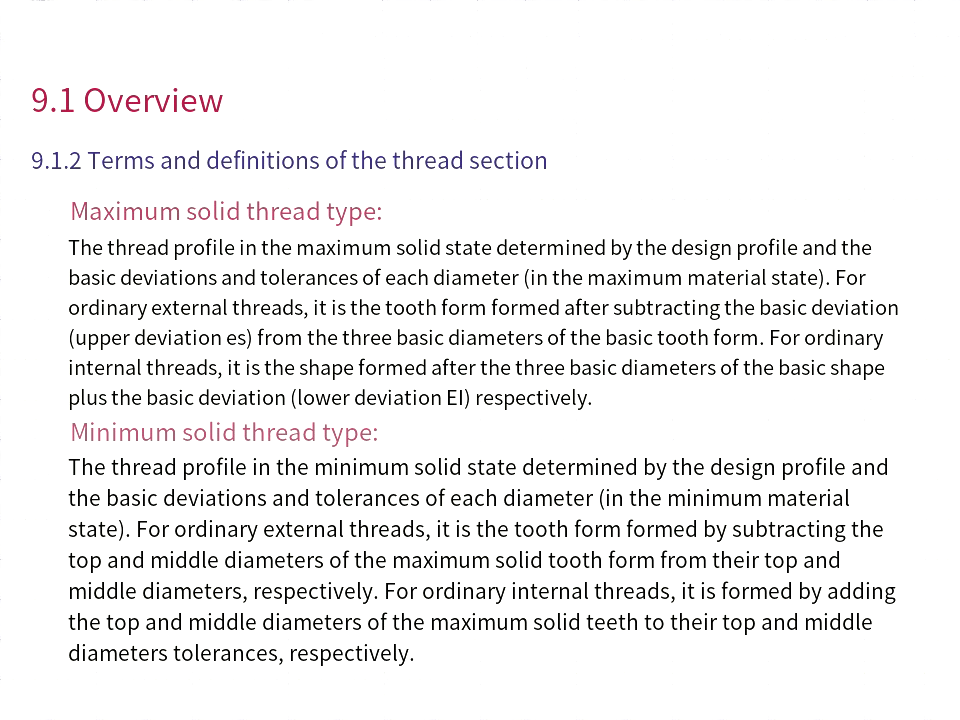
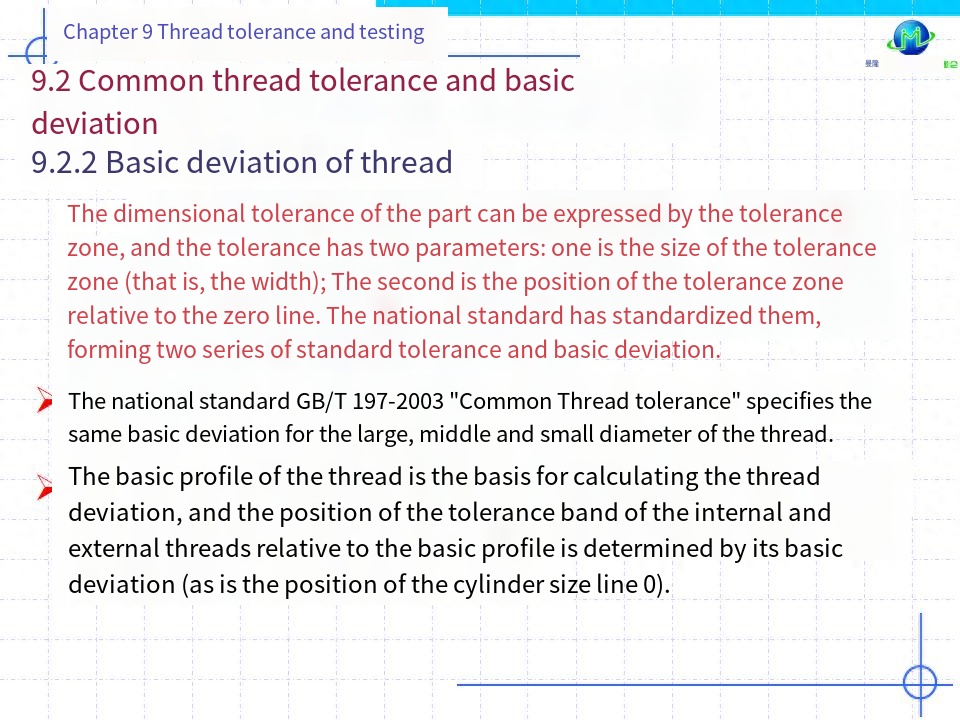
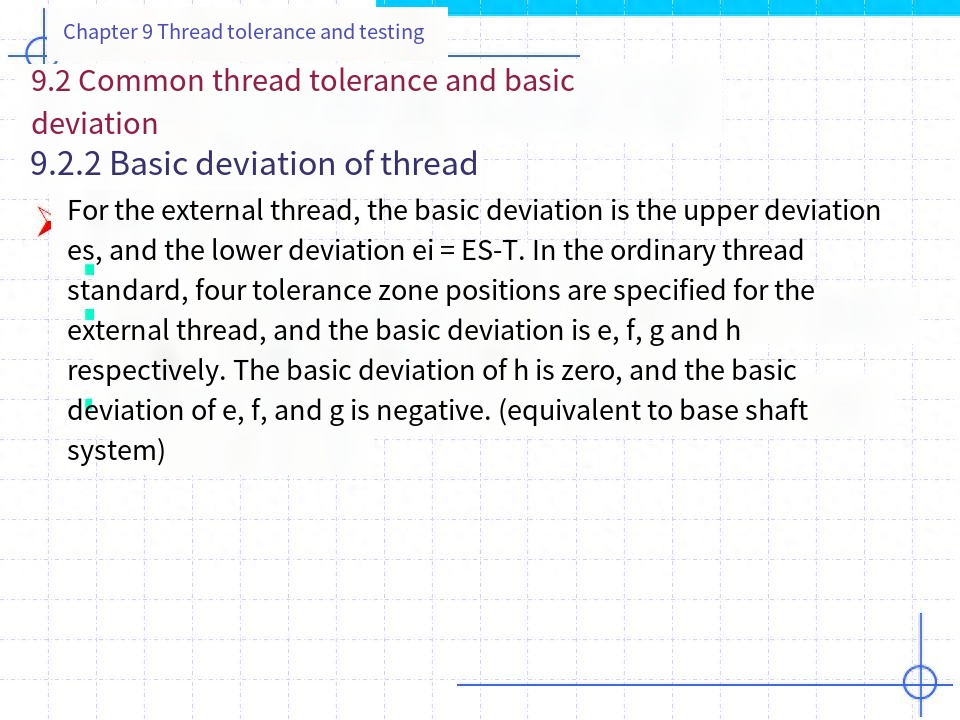
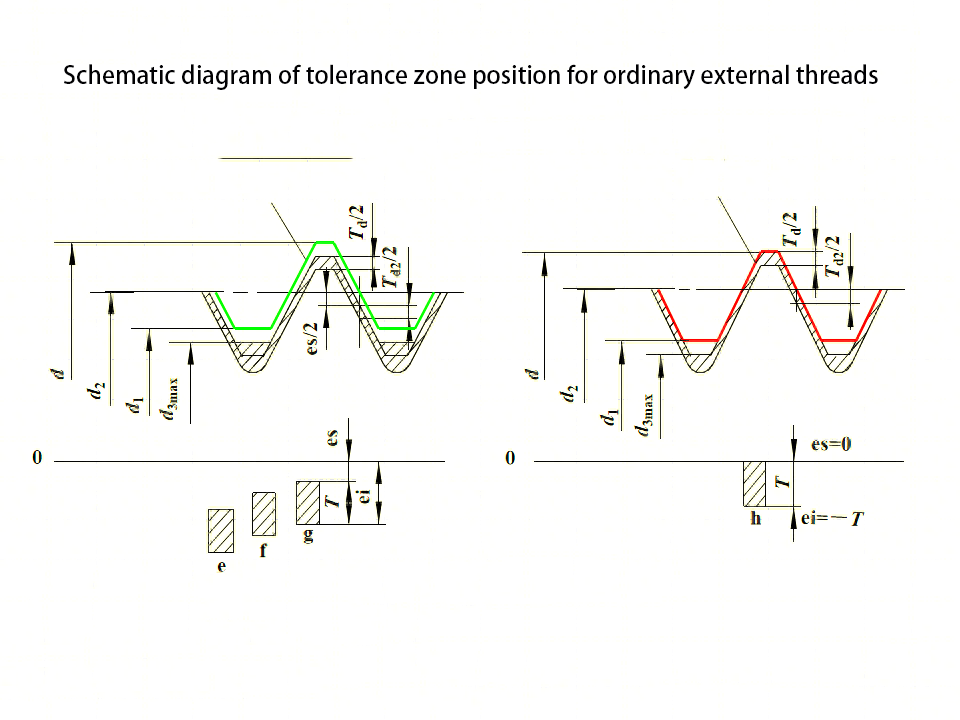
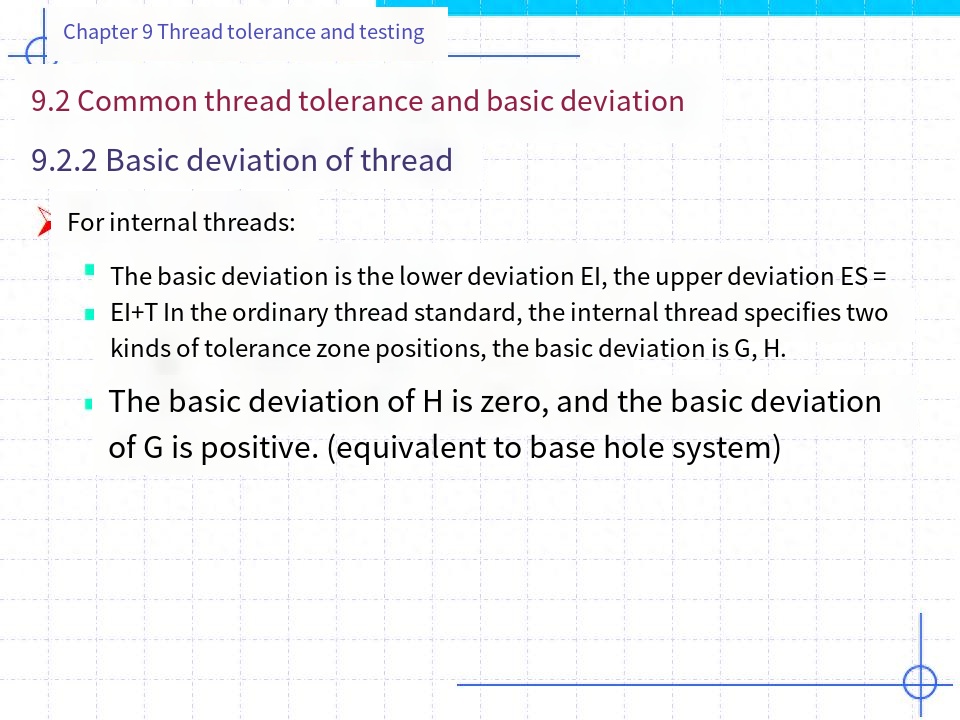
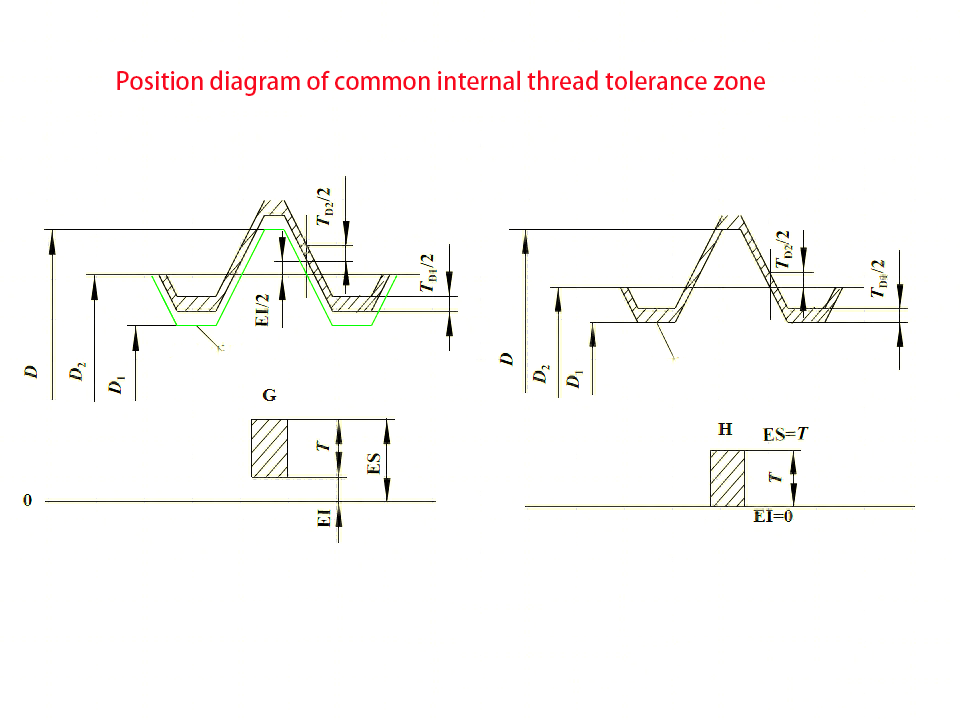
4) Basic deviation:For external threads, the basic deviation is the upper deviation (es), with e, f, g, h four kinds; For internal threads, the basic deviation is the lower deviation (El), there are two kinds of G and H.
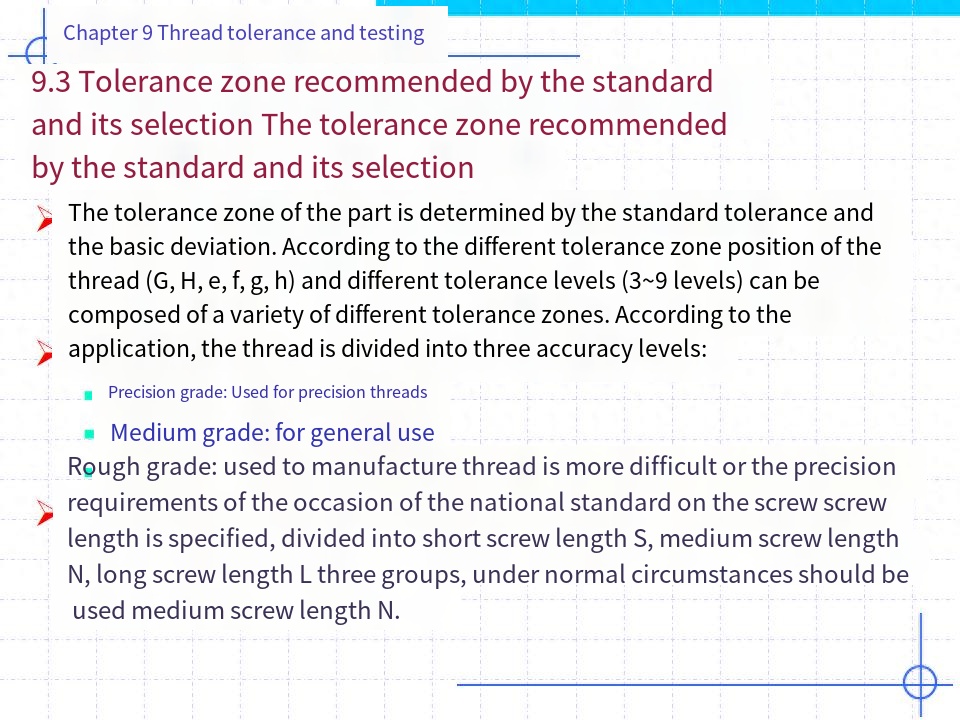
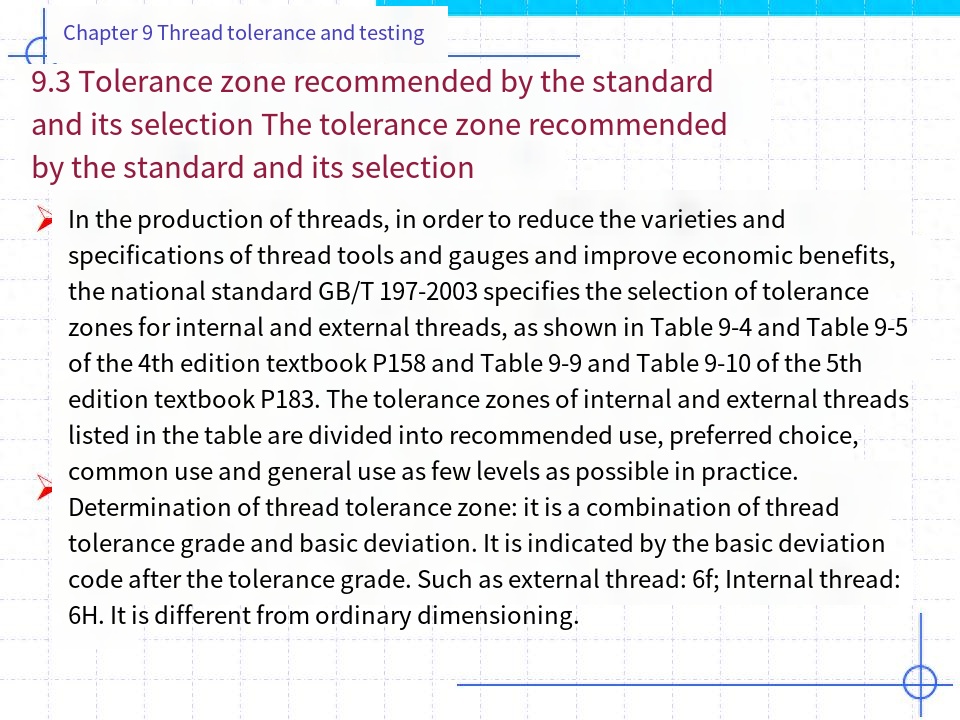
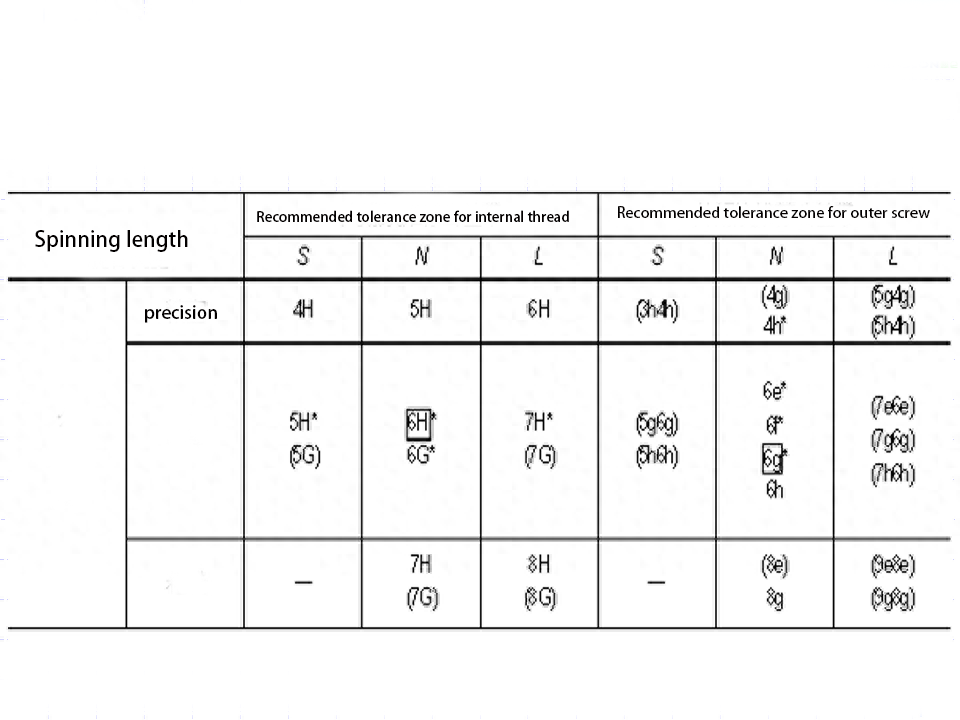
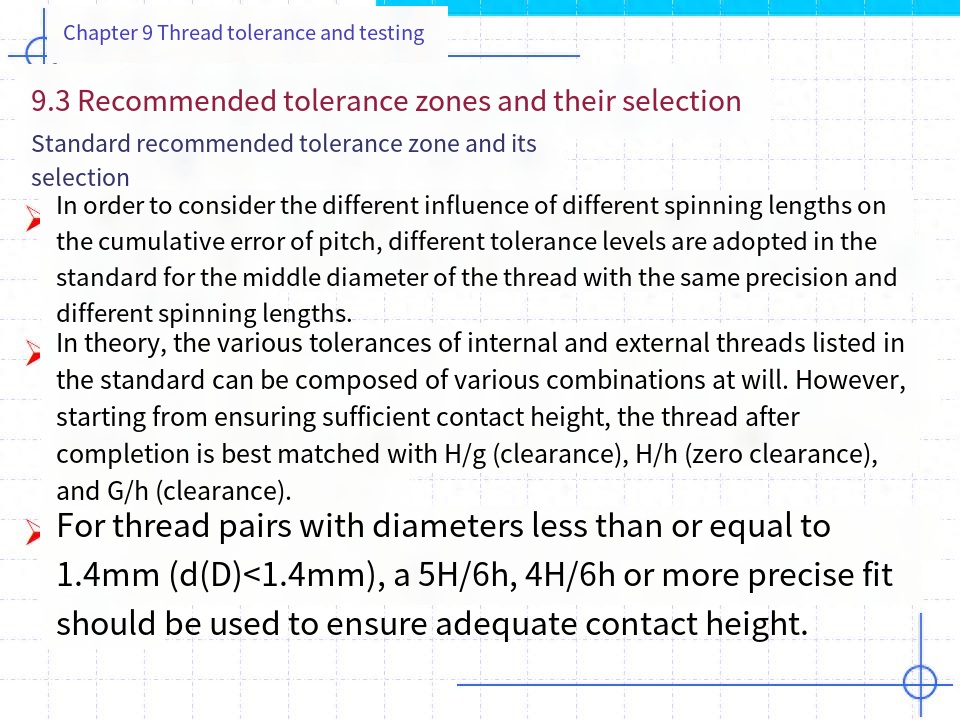
5) Selection of common thread tolerance zoneThe tolerance grade and the basic deviation constitute the thread tolerance zone. The national standard specifies the common tolerance zones, as shown in Table 9-4 and Table 9-5. In general, the preferred tolerance zone specified in the table should be selected as far as possible. The selection of tolerance zones is described in this chapter.
6) Screw length and precision grade:The screw screw length is divided into three types: short, medium and long, denoted by code S, N and L, respectively. The values are shown in Table 9-5. When the tolerance level of thread is fixed, the longer the screwing length, the greater the cumulative pitch deviation and the half Angle deviation of tooth profile may be during machining. Therefore, the thread according to the tolerance level and the length of the screw has three precision levels: precision, medium and rough. The application of each precision level is described in this chapter. With the same accuracy level, the tolerance level of the thread should be reduced with the increase of the spinning length (see Table 9-4).
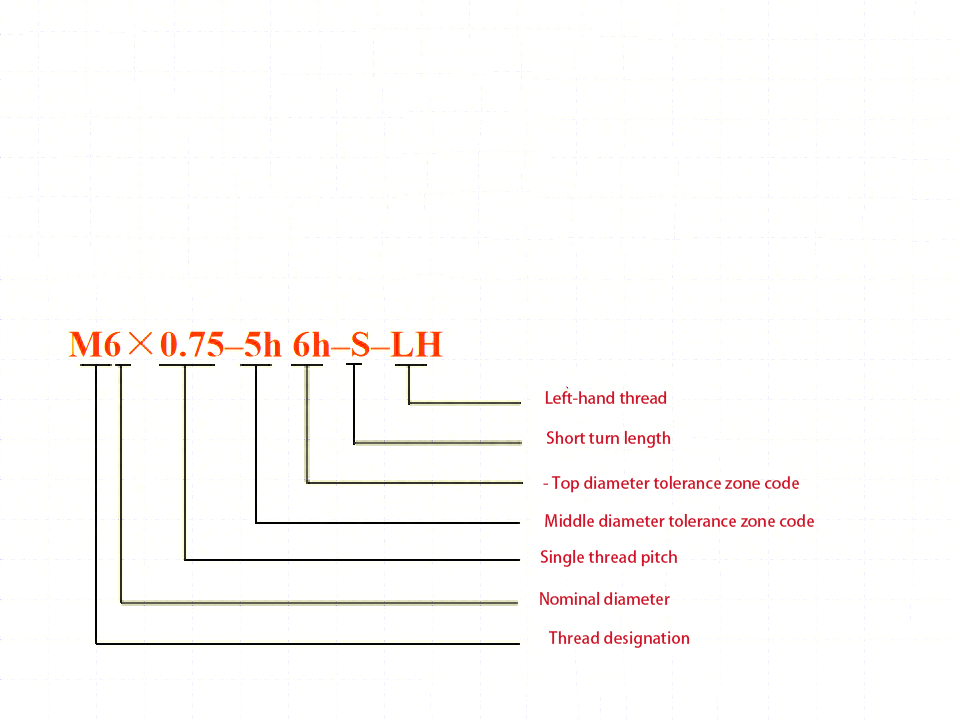
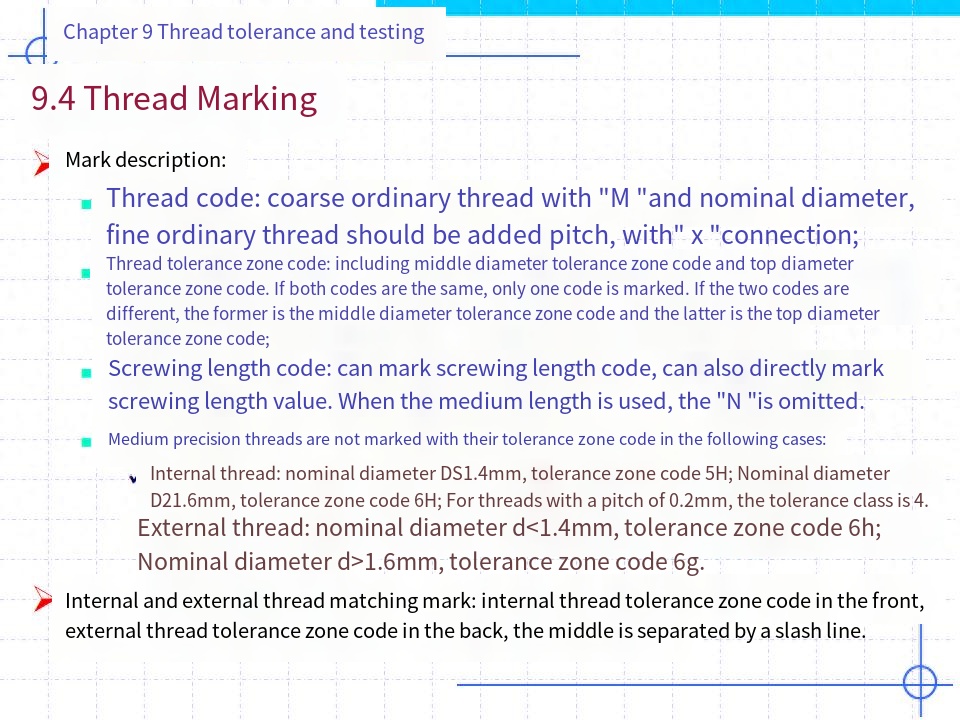
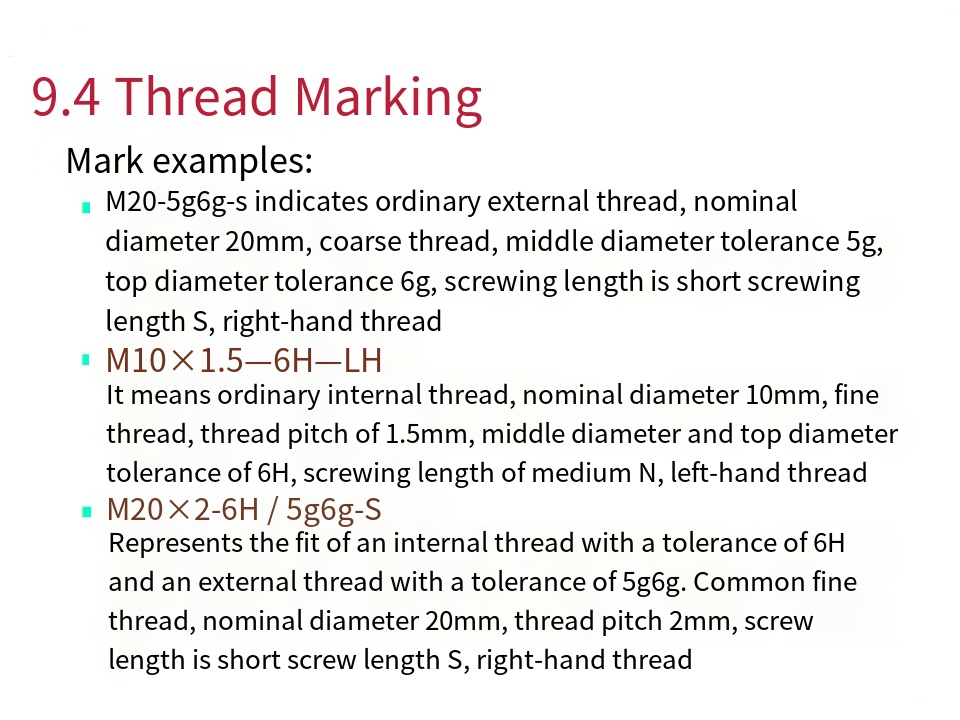
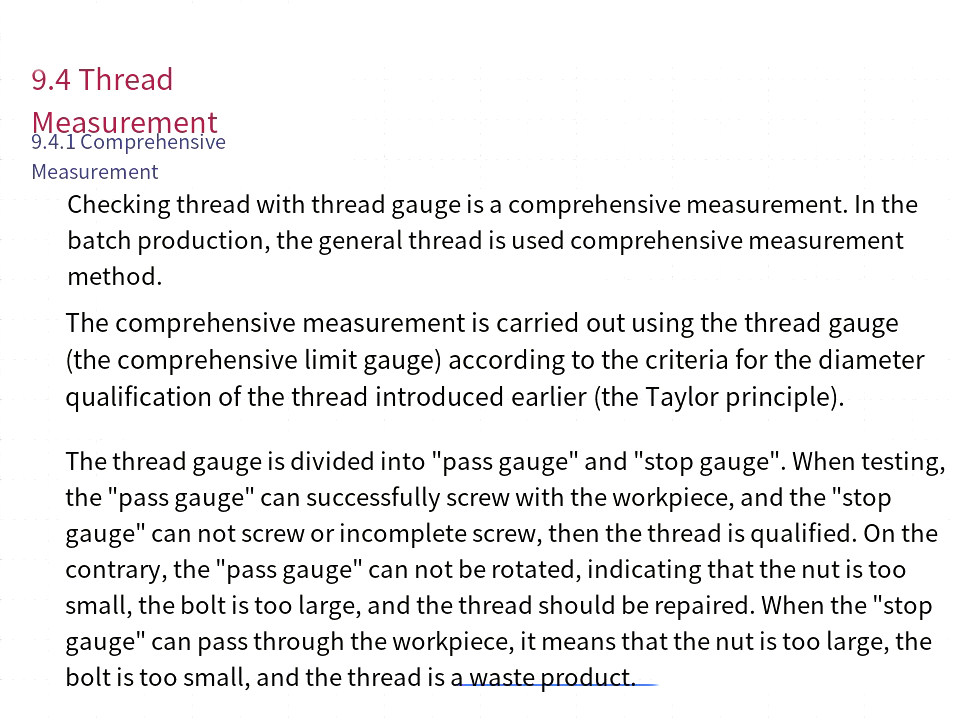
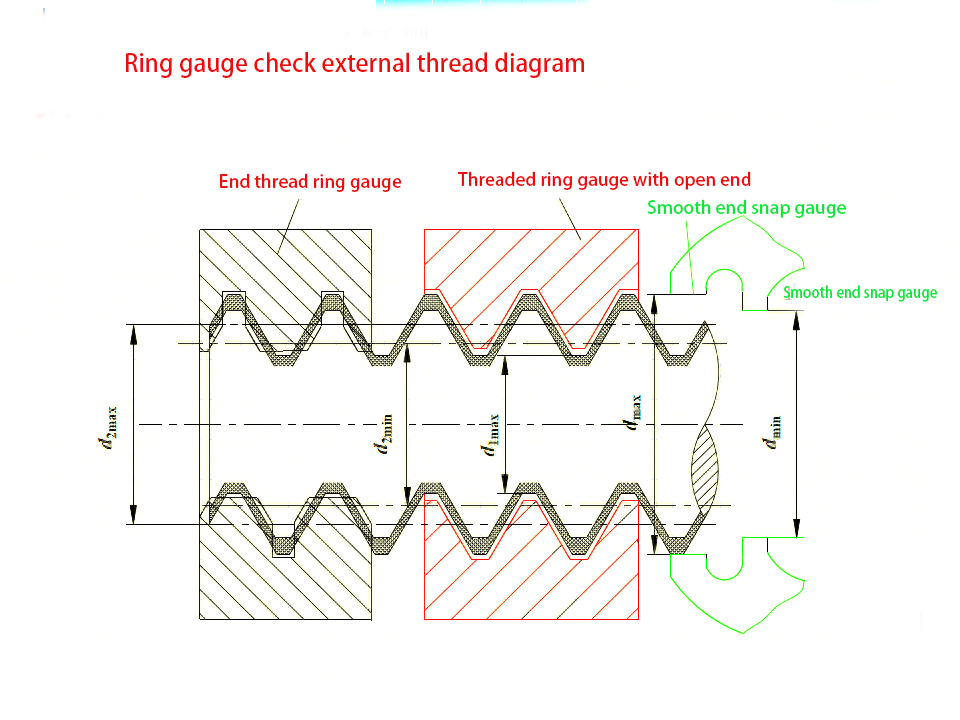
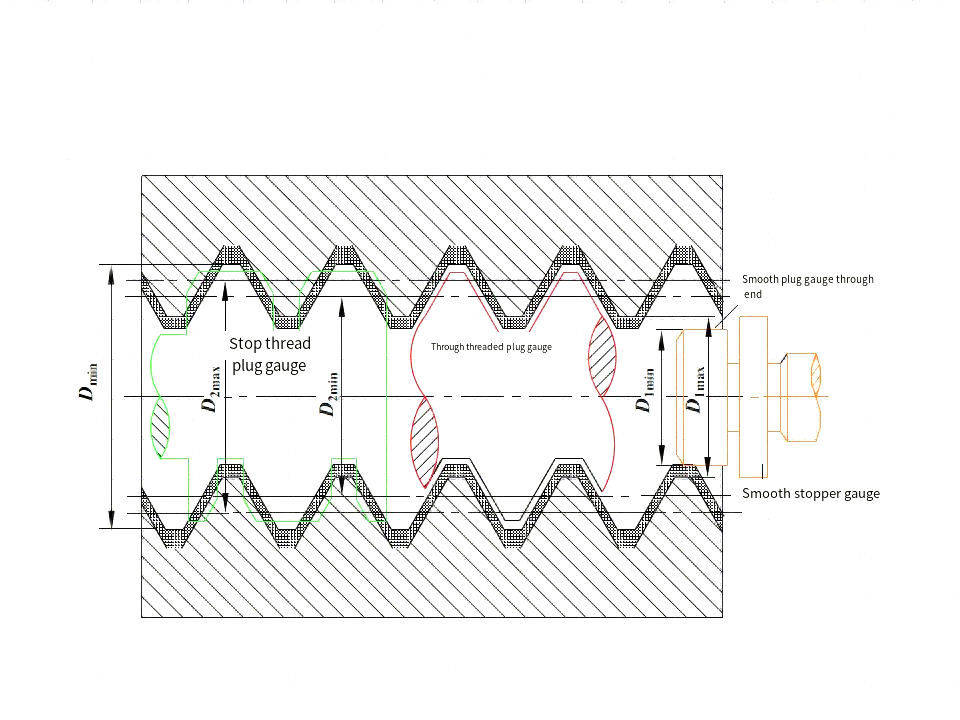
7) The marking and marking of the thread on the pattern are shown in the relevant contents of this chapter.8) The detection of threads is divided into comprehensive detection and single detection.
Post time: Oct-05-2023

